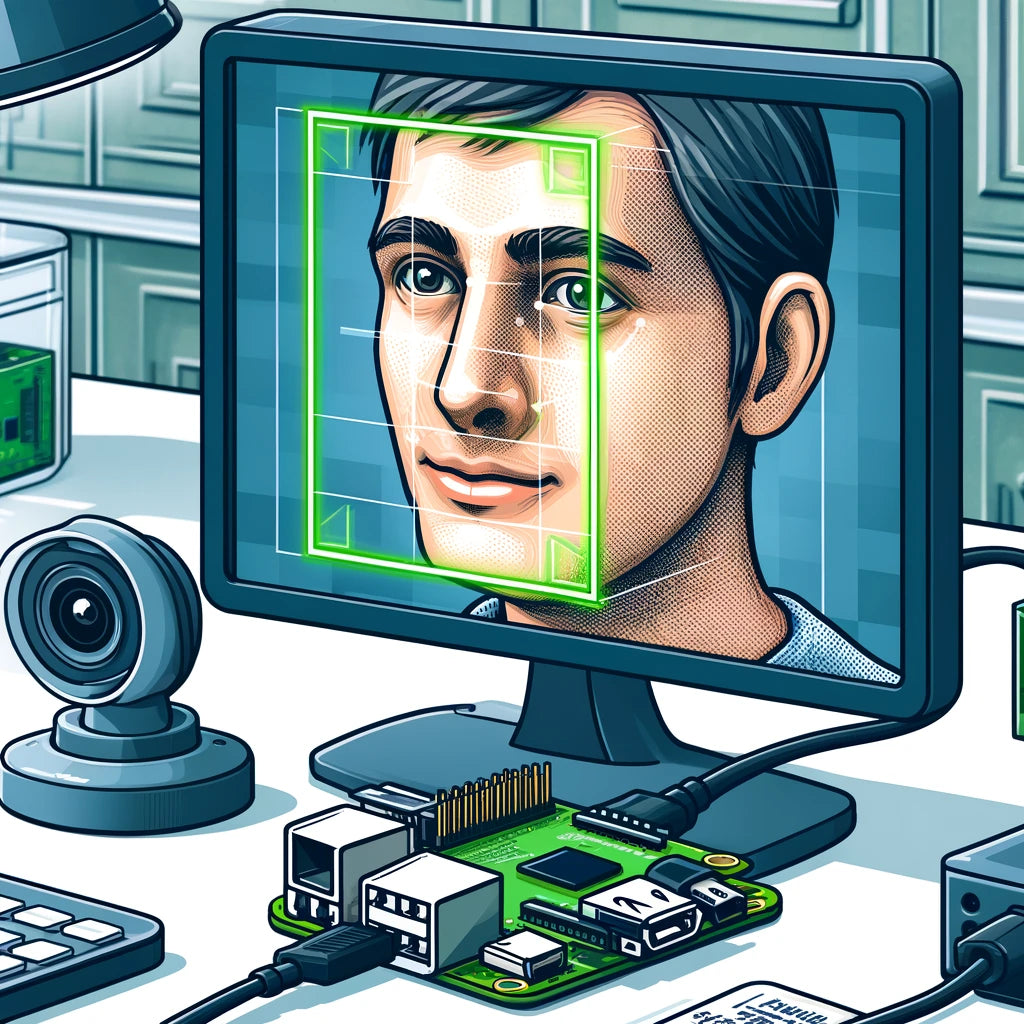
Facial recognition technology has become increasingly accessible thanks to advancements in affordable hardware like the Raspberry Pi. In this blog post, we’ll guide you through setting up a facial recognition project using a Raspberry Pi and some essential components.
Required Components
- Raspberry Pi: We recommend using the latest Raspberry Pi 5 for optimal performance.
- Camera Module: Either the Raspberry Pi Camera Module 3 or the Raspberry Pi Camera Module will work well.
- MicroSD Card: A minimum of 16GB is recommended for the Raspberry Pi OS and necessary software. You can find one here.
- Power Supply: Ensure you have a compatible power supply for the Raspberry Pi 5. Check options here.
- Optional: A case to protect your Raspberry Pi, available here.
Setting Up Your Raspberry Pi
-
Install Raspberry Pi OS:
- Download Raspberry Pi Imager from the official Raspberry Pi website.
- Insert your MicroSD card into your computer.
- Use Raspberry Pi Imager to install the Raspberry Pi OS onto the MicroSD card.
-
Initial Setup:
- Insert the MicroSD card into the Raspberry Pi.
- Connect the Raspberry Pi to a monitor, keyboard, and mouse.
- Power on the Raspberry Pi and complete the initial setup, including setting up Wi-Fi and updating the OS.
Installing Required Software
-
Update the system:
sudo apt-get update sudo apt-get upgrade -
Install Python and necessary libraries:
sudo apt-get install python3-pip pip3 install opencv-python-headless pip3 install face-recognition -
Enable the Camera:
- Open the Raspberry Pi configuration tool:
sudo raspi-config - Navigate to
Interface Optionsand enable the camera.
- Open the Raspberry Pi configuration tool:
Setting Up the Camera
-
Connect the Camera Module:
- Ensure the Raspberry Pi is powered off.
- Connect the camera module to the Raspberry Pi’s camera port.
-
Test the Camera:
- Boot up the Raspberry Pi and test the camera with the following command:
raspistill -o test.jpg - This command captures an image and saves it as
test.jpg.
- Boot up the Raspberry Pi and test the camera with the following command:
Writing the Facial Recognition Script
-
Create a Python Script:
- Open a text editor and create a new file called
facial_recognition.py:import cv2 import face_recognition video_capture = cv2.VideoCapture(0) while True: ret, frame = video_capture.read() rgb_frame = frame[:, :, ::-1] face_locations = face_recognition.face_locations(rgb_frame) for top, right, bottom, left in face_locations: cv2.rectangle(frame, (left, top), (right, bottom), (0, 255, 0), 2) cv2.imshow('Video', frame) if cv2.waitKey(1) & 0xFF == ord('q'): break video_capture.release() cv2.destroyAllWindows()
- Open a text editor and create a new file called
-
Run the Script:
- Execute the script with:
python3 facial_recognition.py
- Execute the script with:
Conclusion
With these steps, you should have a basic facial recognition system up and running on your Raspberry Pi. For more advanced functionalities, consider exploring the extensive capabilities of the face_recognition library and OpenCV.
Feel free to explore additional accessories and modules on the Raspberry Pi Australia website to enhance your project further. Happy coding!