Trip wire for Pico Kit
Trip wire for Pico Kit is backordered and will ship as soon as it is back in stock.
Couldn't load pickup availability

Call us on 1300 240 817 between 10 AM and 4 PM on weekdays or email team@littlebird.com.au .
The Fastest Shipping
The Fastest Shipping
We ship faster because we built our own shipping 🤖 robot.
Pi Australia is operated by Little Bird, and we go to great lengths to ship your orders, often within minutes.
You can view shipping options and pricing at checkout without logging in.
For orders over 500g (such as bulky items), shipping may cost more than the initial estimate.
We deliver across Australia, and here are the options (based on your location; view them on the cart page):
- Standard Post: Starting at $7 (6+ business days, with tracking)
- Express Post: Starting at $11 (2+ business days, with tracking)
- Same Day Delivery: Available for Sydney orders.
- Non-metro WA, NT, SA, and TAS: May take an additional 2+ days.

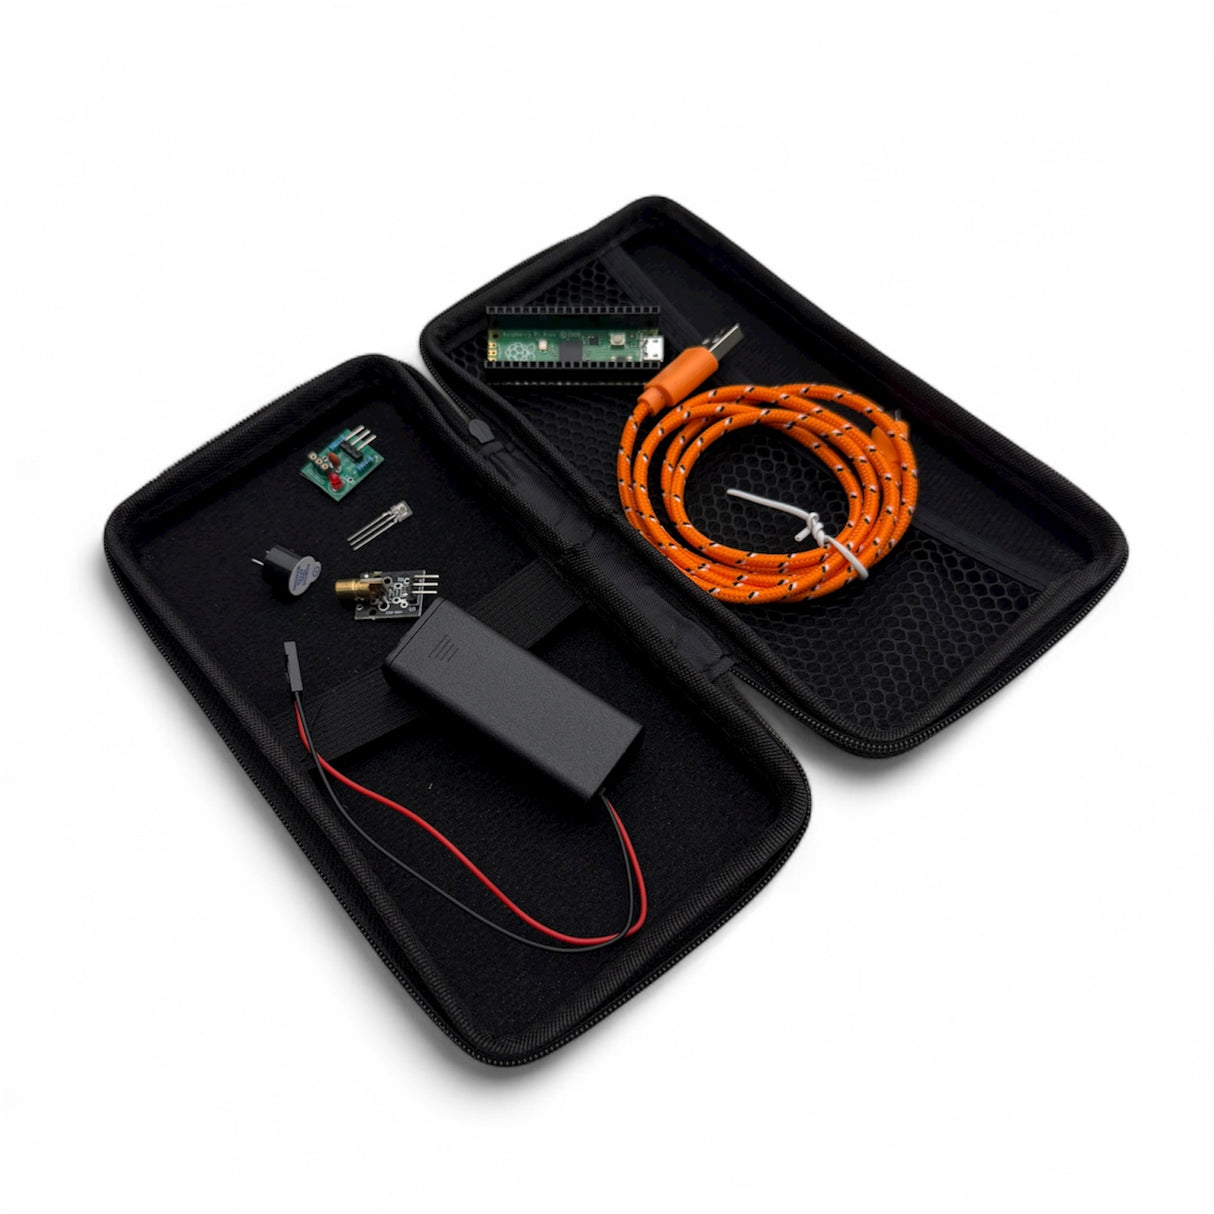
🔧 What’s Inside
- Little Bird yellow case – portable, durable, and bright!
- Raspberry Pi Pico – the brains of your project
- Laser module – emits a bright 650 nm red beam
- Laser detector module – senses when the beam is broken
- Buzzer – sounds the alarm when triggered
- MicroUSB cable – connect and code your Pico
- AAA battery pack – powers your circuit
Laser Module Basics
Build a power pack, strip and crimp wires, and test your circuit safely.
Discover how laser diodes work and learn essential safety practices — never look into the beam or point it at shiny surfaces!
Pico Trip Wire Project (Coding + Sensors)
Combine hardware and software to make a working laser alarm.
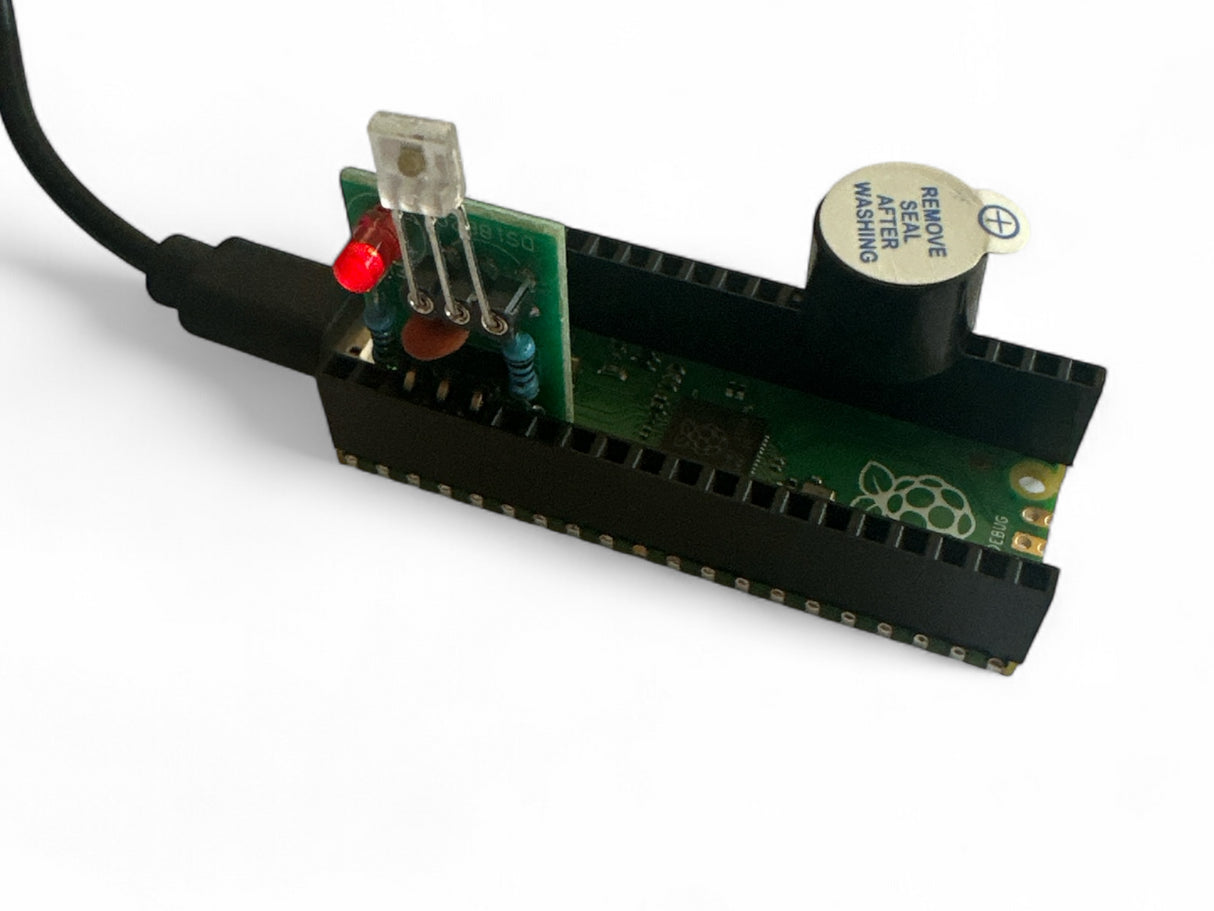
The Pico board already has the code to run this project loaded on it - you just need to plug in the components and watch it work!
- Plug the laser detector into GP2 and the buzzer into GP19.
- Use MicroPython in Thonny to program your Pico.
- Watch your code “see” the laser beam and trigger the buzzer when the beam breaks.
- Design a 3D-printed enclosure in Tinkercad to prevent false triggers from sunlight.
Find details of the code on our blog
- Circuit wiring and breadboard layout
- Safe soldering and wire crimping
- Digital input/output logic
- Coding with MicroPython
- Sensor integration and debugging
- Design thinking with 3D-printed enclosures
- Scouts and school STEM programs
- Beginners exploring coding and circuits
- Makers who love lasers, sensors, and sound
- Always check polarity — red = 3.3 V, black/blue = GND.
- LEDs only light one way (long leg = +).
- If something doesn’t work, check wiring before the code.
- Experiment: swap one sensor for another and watch how your program adapts!
Never point at mirrors, people, animals, or aircraft.
Handle wires and tools carefully, and always work under supervision if you’re new to electronics.
Payment & Security
Payment methods
Your payment information is processed securely. We do not store credit card details nor have access to your credit card information.


