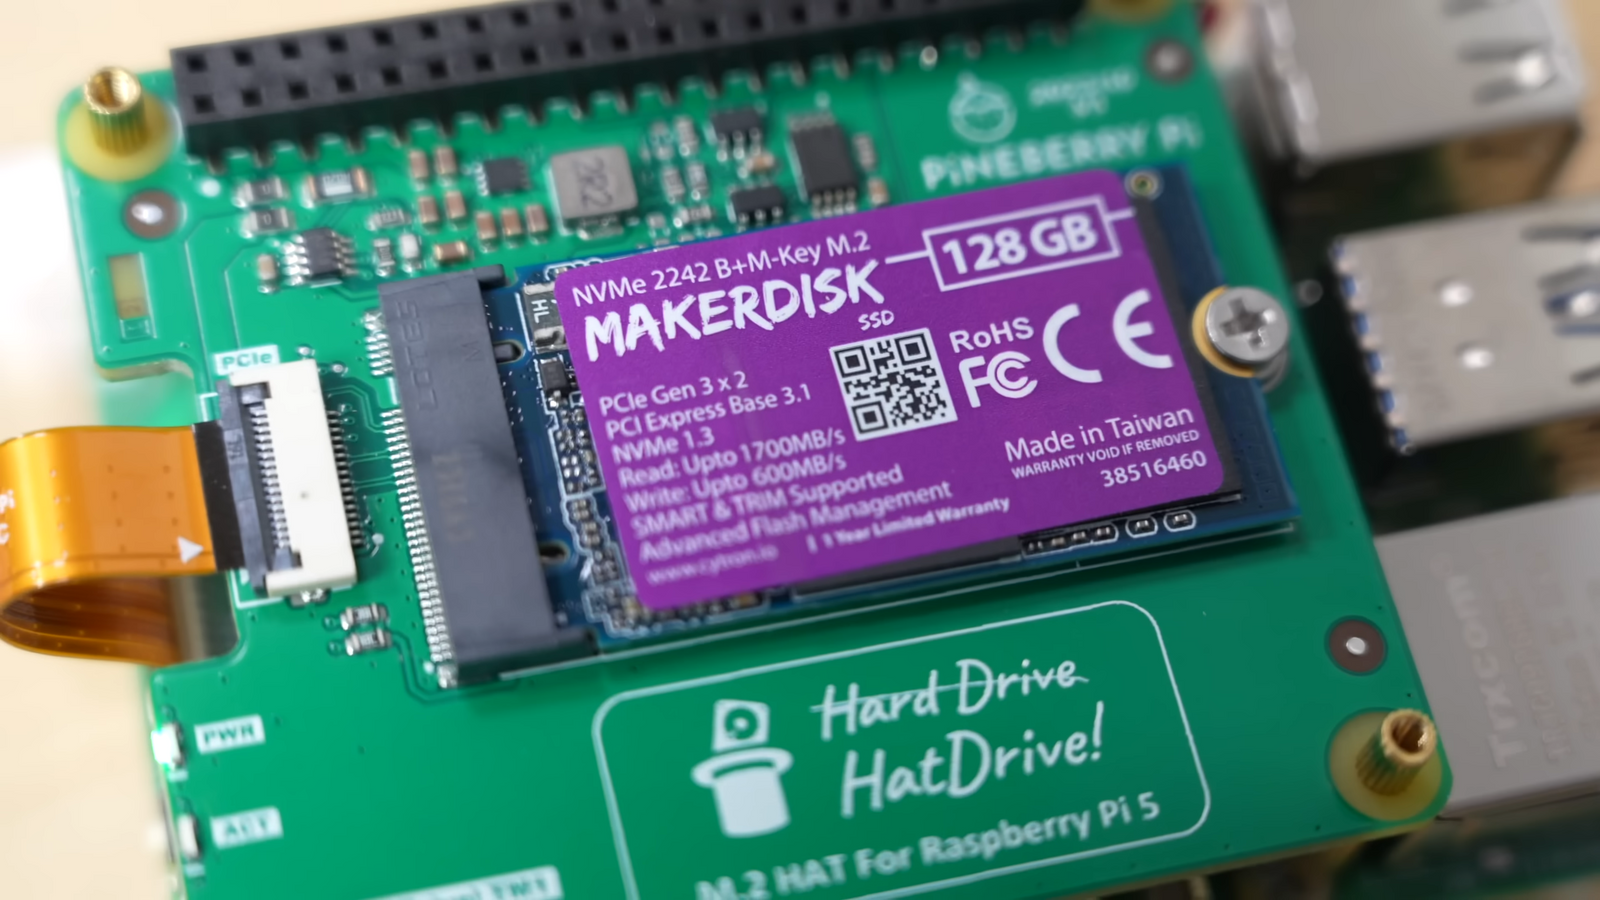
The Raspberry Pi 5 has brought PCIe connectivity to the model B form factor, allowing users to integrate NVMe SSDs. Boards like Pineberry Pi’s Hat Drives and Pimoroni’s NVMe Base have already surfaced, and an official Raspberry Pi M.2 board is on the horizon following the release of the PCIe Peripheral (PIP) specification.
For early adopters keen on maximizing their Raspberry Pi 5's potential with an NVMe SSD, we've navigated the setup process to share our insights. Let's turbo-charge your Raspberry Pi 5 with the speed of an NVMe SSD.
Requirements:
- Raspberry Pi 5 running Raspberry Pi OS from a micro SD
- NVMe SSD
- NVMe HAT
- USB-to-NVMe adapter (refer to best SSD enclosures)
Preparing Your NVMe Drive:
- Boot your Raspberry Pi 5 from a micro SD card.
- Connect your NVMe SSD to a USB 3 port on the Raspberry Pi 5 via a USB 3 to NVMe adapter.
- Download and install Raspberry Pi OS onto the NVMe drive, not the micro SD card.
- Eject and remove the NVMe drive from the USB adapter.
Setting Up the Raspberry Pi 5 for NVMe Boot:
- Open a terminal and edit the config.txt file using nano:
sudo nano /boot/config.txt
- Add a section for NVMe configuration at the bottom of the file:
#NVMe Configuration
- Set the PCIe connection speed (e.g., Gen 3):
dtparam=pciex1_gen=3
-
Save and exit by pressing CTRL + X, then Y, and Enter.
-
Reboot the Raspberry Pi for the changes to take effect.
-
Open a terminal and edit the EEPROM:
sudo rpi-eeprom-config --edit
- Change the BOOT_ORDER line to prioritize NVMe boot:
BOOT_ORDER=0xf416
- Add a line to enable custom PCIe boards:
PCIE_PROBE=1
-
Save and exit by pressing CTRL + X, then Y, and Enter.
-
Reboot the Raspberry Pi for the changes to take effect.
-
Power off the Raspberry Pi 5, disconnect the USB C power connection, and ensure the power is off.
-
Insert the flat flex cable into the PCIe connector on both the Raspberry Pi 5 and the NVMe board. Note: The gold contacts on the cable should be oriented towards the USB/Ethernet ports
-
Secure the connections, insert the NVMe drive with Raspberry Pi OS, and power up the Raspberry Pi 5.
Your Raspberry Pi 5 is now booting from NVMe, delivering a substantial speed boost. Enjoy the enhanced performance!


1 comment
Thanks for a straight forward tutorial. Don’t know what I would have done without. Much appreciated.