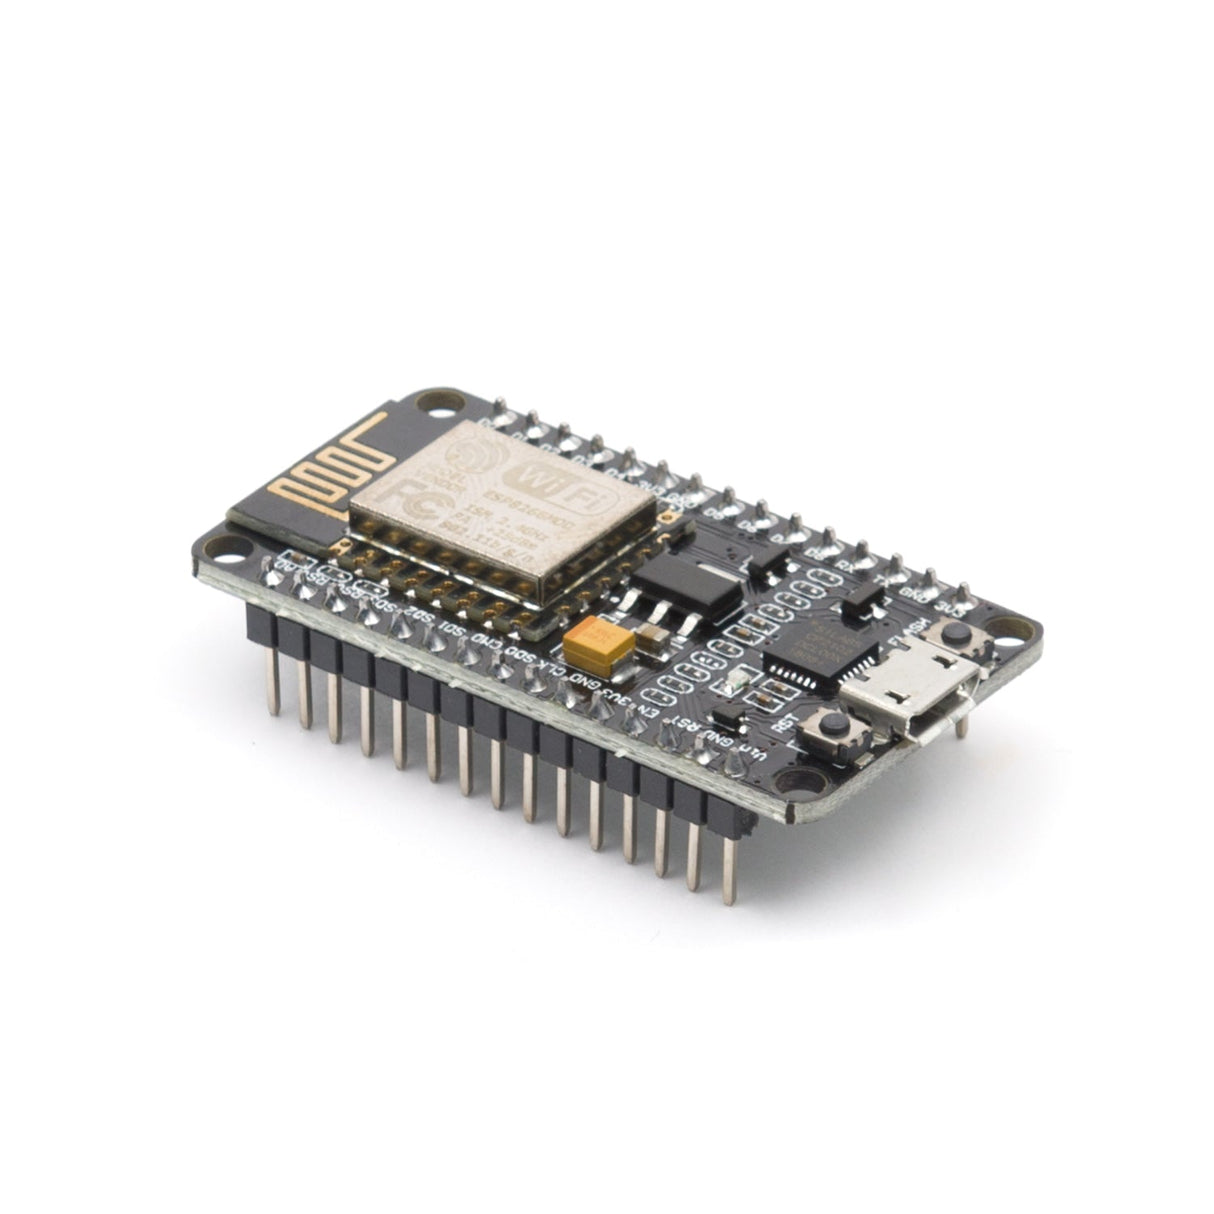
NodeMCU board ESP8266 WiFi module CP2102 ESP-12E Lua WiFi

SKU: LB-LR0128
Price
$8
Taxes and shipping calculated at checkout

Got a Question?

Give us a call on 1300 240 817

Frequently Bought Together

No reviews

We Accept

American Express
Apple Pay
Generic
Google Pay
Mastercard
PayPal
Shop Pay
Union Pay
Visa

Description

Material: Experimental Board + Mixed Alloy
Color: Black
Chip Module: CP2102
Working Temperature: -40 ℃ ~ +125 ℃
Power Input: 4.5V ~ 9V (10VMAX), USB-powered
Drive Type: Dual high-power H-bridge driver
Current: continuous transmission ≈70mA (200mA MAX)
Standby: <200uA
Size: (L)X(W)4.8X2.5cm/1.89''X0.98''(appr.)
 
Features:
A great set of tools to develop ESP8266.
ESP8266 has IO Pin.
ESP8266 full IO mouth leads directly download without resetting.
Open-source, interactive, programmable, low cost, simple, smart, WI-FI enabled.
Greatly speed up your IOT application developing process.
 
Package included:
1 x ESP8266 CP2102 Development Board

Required Drivers

Please note: This is the LUA version as such does not work out of the box with the Arduino IDE although it is possible with a firmware upgrade.

Updating the firmware on a NodeMCU board with an ESP8266 WiFi module, such as the ESP-12E, typically involves flashing new firmware onto the device. Here are the general steps to update the firmware on a NodeMCU board:

1. Install Required Software:

Before you start, you'll need to install some software tools:

  • Arduino IDE: You can download it from the official Arduino website.
  • ESP8266 Board Manager: If you haven't already, you'll need to install the ESP8266 board support for the Arduino IDE. Go to "File" > "Preferences" in Arduino IDE, and add this URL to the "Additional Boards Manager URLs" field: http://arduino.esp8266.com/stable/package_esp8266com_index.json. Then, go to "Tools" > "Board" > "Boards Manager" and install the "esp8266" package.

2. Connect Hardware:

Make sure your NodeMCU board is connected to your computer via USB and that you have the appropriate drivers installed for the CP2102 USB-to-Serial converter, which is commonly used on NodeMCU boards.


3. Select Board and Port:

Open the Arduino IDE and go to "Tools" > "Board" and select the appropriate NodeMCU board (e.g., "NodeMCU 1.0 (ESP-12E Module)"). Also, make sure you've selected the correct COM port under "Tools" > "Port."


4. Download Firmware:

You'll need to find and download the firmware you want to flash onto your NodeMCU. You can use firmware from the official ESP8266 GitHub repository (https://github.com/esp8266/Arduino) or other sources, depending on your project's requirements.


5. Flash Firmware:

To flash the firmware, follow these steps:

  • Open the firmware sketch in the Arduino IDE (it's usually a .ino file).
  • Verify that the settings in the sketch match your NodeMCU board and your project's requirements.
  • Click the "Upload" button (the right-facing arrow) to flash the firmware to the NodeMCU.

6. Monitor Serial Output (Optional):

You can open the Arduino IDE's Serial Monitor to view debug output from the NodeMCU board. Set the baud rate to match the firmware's serial output settings (usually 115200 baud).


7. Verify and Test:

Once the firmware is uploaded, you can disconnect and reconnect the NodeMCU board to your computer. Your updated firmware should now be running on the device. You can test its functionality according to your project requirements.

Please note that different firmware versions and custom firmware may have specific instructions, so be sure to check the documentation provided with the firmware you're using for any additional steps or requirements.

Also, exercise caution when flashing firmware, as incorrect firmware or flashing procedures can potentially brick your device. Make sure to double-check your settings and read the documentation for the specific firmware you're using.


Recommended for You

Buy with Confidence

We're Australia's only Raspberry Pi approved reseller in Sydney, Australia.

Meet the Pi Powered Robot that ships other Pis

This is our secret to shipping the NodeMCU board ESP8266 WiFi module CP2102 ESP-12E Lua WiFi out so fast to you!

FAQ

How do you Ship your Raspberry Pis?

We ship via Australia Post eParcel from our Sydney warehouse.

Australia Post picks up from us daily.

Asll shipping methods we use have tracking.

Do you ship from Sydney, Australia?

All our products ship from our warehouse in Sydney, Australia.

What payment methods do you accept?

We accept all major credit cards, Apple Pay, Google Pay and PayPal.

We also accept purchase orders from educational and government institutions on 30-day terms.

You're automatically approved if you're a school, university, or state or federal government department or agency.

What is your return, exchange and warranty policy?

Returns

We accept returns for faulty products, but will first work with you to help get your Raspberry Pi working again.

99% of the time there it is not the Raspberry Pi that is faulty.

If you need help, reach out to us on help@littlebird.com.au.

Change of Mind

We are happy to accept a return for a "change of mind", however, you will need to cover the cost of any merchant fees associated with the return. Goods need to be in an "as new" state.

What's the warranty on your Raspberry Pis?

You can have peace of mind knowing that Raspberry Pi is backed by a 1-year warranty, and thanks to rigorous quality assurance testing in the UK factory, you can be sure that your Raspberry Pi will stay in good working condition.

How long does shipping and delivery take?

At our Sydney, Australia warehouse, we provide fast and reliable shipping. To go even further, we have created our own Raspberry Pi powered Robot called Bishop.

How long does delivery take?

Australia Post picks up from us daily. If you're within the Australia Post next day network you can usually expect your order to arrive the next day if ordered with Express Post before 2pm.

80% of Australian addresses covered and you probably already know if you're in the network.

How can I track my order?

When we ship your order (which we do daily), we send you a tracking link.

If you haven't received a tracking link, please email us on help@littlebird.com.au .

How do I contact customer service?

You can call us on 1300 240 817 or email help@littlebird.com.au .

Do you have a secure website?

Yes, our website is secure and we use the latest security features to ensure your data is always kept safe.

Can I get my order shipped to a PO Box or Parcel Locker?

If you want to ship to a PO Box, Parcel Locker or another otherwise anonymising delivery address, we need you to use Paypal at checkout.