


The Raspberry Pi that ships other Raspberry Pis
Introduction
In case you've been sleeping under a rock for the past few years, the Raspberry Pi is a tiny fully-functional computer aimed to be accessibly priced for education (and as you may have guessed, we sell a ton of them in Australia).
We want the products that we sell to remain accessibly priced for education and to achieve this we've been using automation to increase productivity.
Meet Bishop
Bishop is our (you guessed it) Raspberry Pi-powered picking (and eventually packing) robot. Named after the android in the movie Aliens, Bishop consists of a shelf and a shuttle that moves along it to pick order line items and deliver them to a pick bin. It is kinda like a giant vending machine for our most popular products.
The Hardware
Hardware Overview
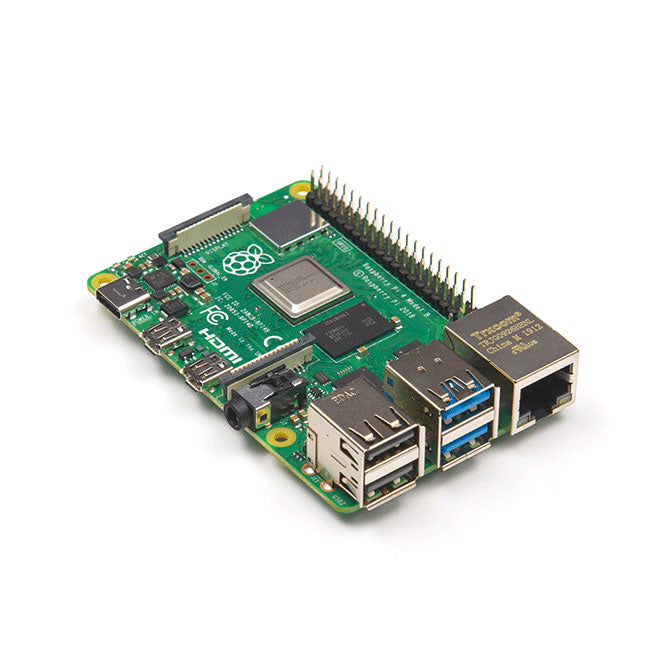
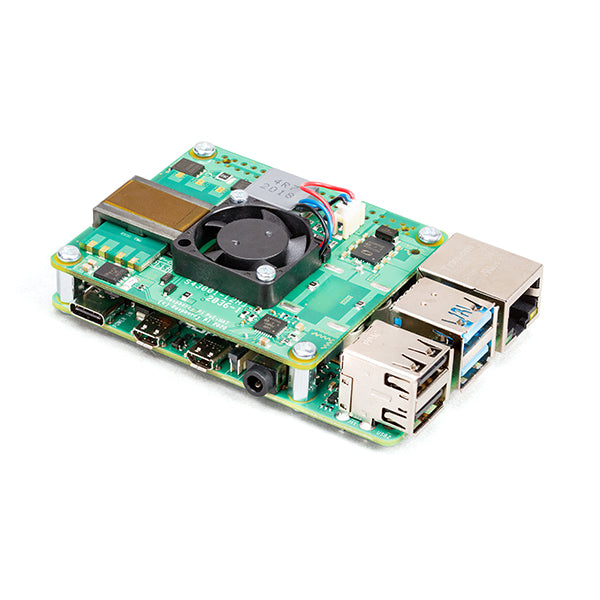
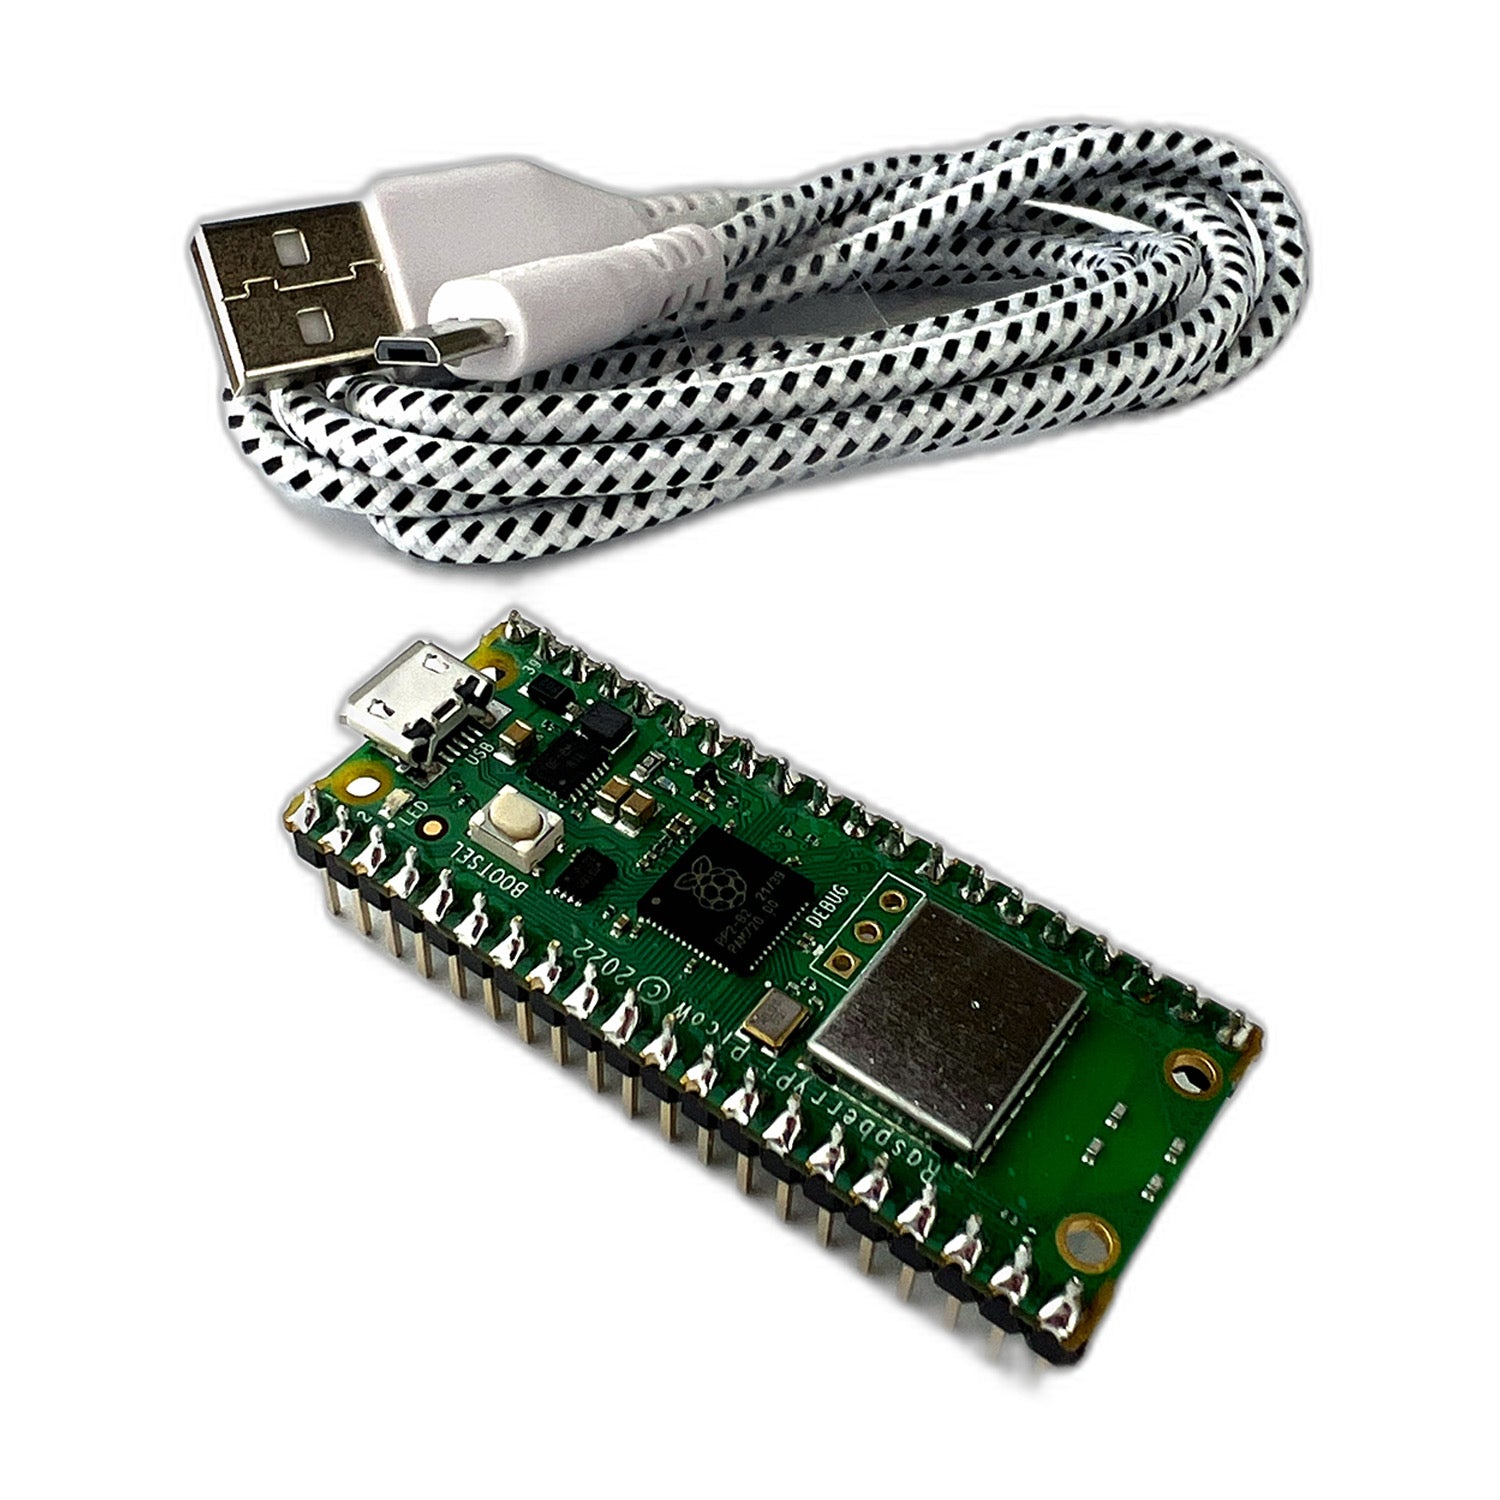
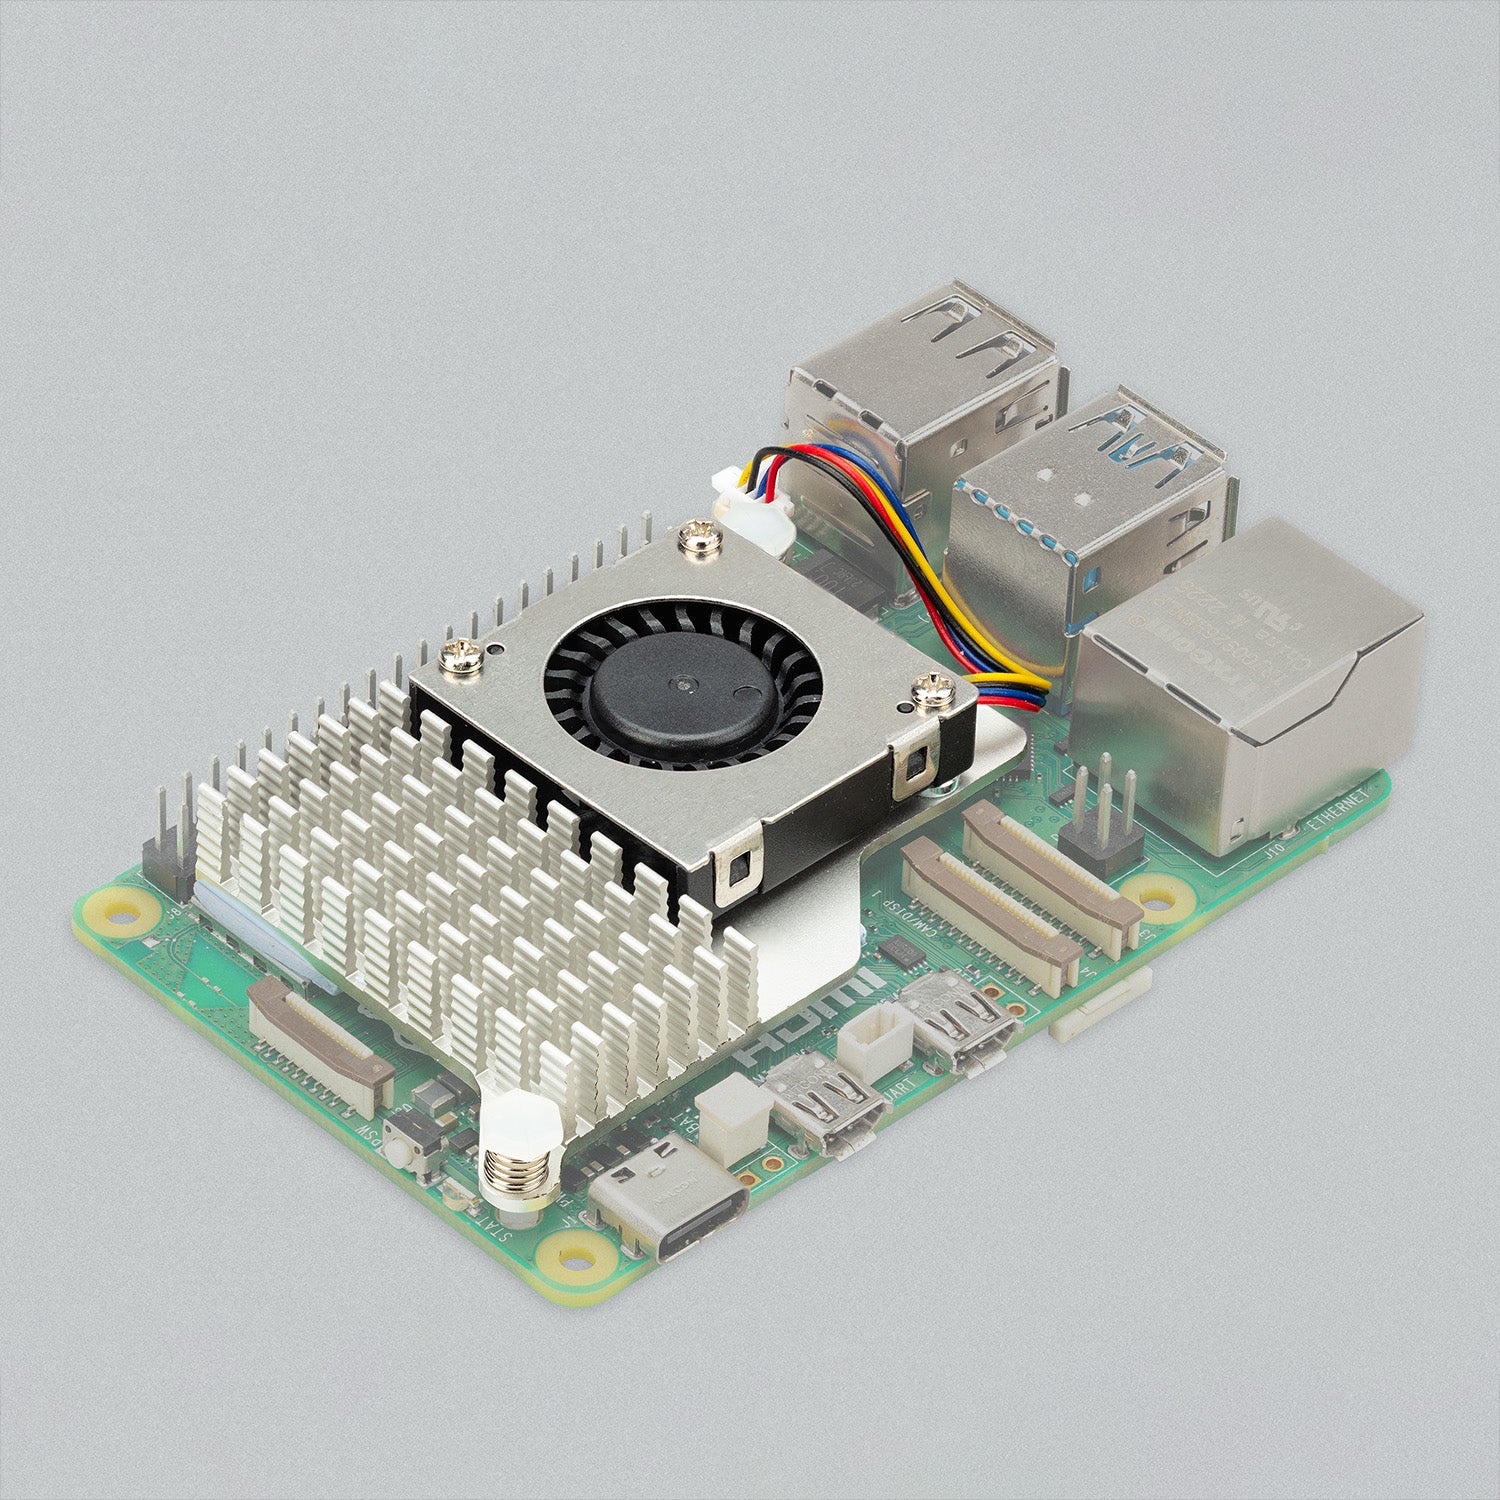
The brains of Bishop is a Raspberry Pi 4 Model B (4GB) running Raspbian with linuxcnc (more on LinuxCNC later). You can think of Bishop as a CNC machine, flipped on the side with a Pi as the controller.
As you'd expect with any robot that thinks it's a CNC machine it has a stepper motor controller and a bunch of stepper motors, and sensors.
More specifically, Bishop is made up of a few different components:
- Custom plywood and steel shelf that holds all the products that we sell
- Rack and pinion on which the shuttle moves
- Stepper motors and driver to move the shuttle
- A bunch of sensors (limit switches and hall effect sensors) to detect the shuttle's position
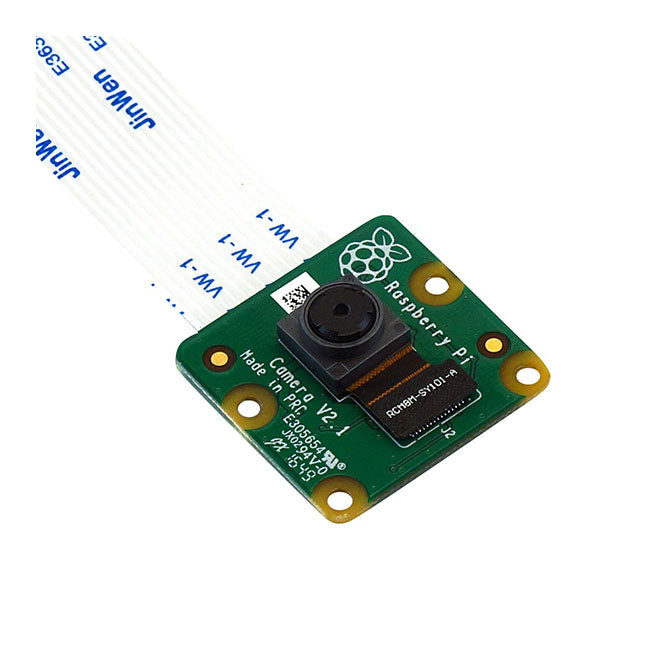
- A camera to confirm that the correct product has been picked
- A shuttle that moves from shelf location to shelf location
Shelves
The frame of the shelf is a mix of plywood, and premade industrial shelving. The shelves themselves are made from coated aluminium and are held in place by a series of bolts and nuts.
Each position on the shelf has a notch cut into it that allows the shuttle to retrieve the product in the location.
Products are gravity fed towards the front of the shelf, and prevented from falling off the shelf by a lip at the front.
Shuttle
What is a shuttle?

The shuttle is the part of the robot that moves along the shelf to pick products. Once it has picked a product from the shelf, it stores it within the shuttle until it is ready to be delivered to a pick bin.
The shuttle has four main parts:
- The body/tray
- The linear actuator
- The finger
- and the tailgate
The shuttle works by moving closer to the shelf and then using the finger to manipulate the product into the tray. It then moves away from the shelf, and moves to a pick bin where it opens the tailgate and drops the product into the bin.
Body/Tray
This body of the shuttle is made from acrylic and aluminium, to keep the weight down whilst still being strong enough to hold the products.
Linear Actuator
The entire tray of the shuttle is mounted on a threaded rod that is connected to a stepper motor. When the stepper motor is activated, the tray moves along the threaded rod toward the shelf. Limit switches are used to detect when the tray is at the front of the shelf, and when it has moved away from the shelf.
Finger
At the front of the shuttle is what we call the "finger" which is used to pick up the product from the shelf. The finger is made from a piece of acrylic connected to a jointed 3D-printed carbon fibre arm that is connected to a stepper motor. When the stepper motor is activated, the entire finger mechanism moves in an oval motion to pick up and move the product forward toward the shuttle. The whole shuttle is angled such that the product is moved towards the back of the shuttle by gravity.
The inspiration for the finger mechanics was Nick's son's toy train.

The finger mechanism evolved quite a few times before we finally "got it right".
Tailgate
The tailgate is a piece of acrylic that is connected to the back tray of the shuttle (like the tailgate of a ute/pickup truck). When the shuttle is delivering a product to a pick bin, the tailgate is opened to allow the product to fall into the bin. The tailgate is connected to a servo motor, and 3D-printed parts that allow it to open and close.
X/Y Gantry
The X/Y gantry is the part of the robot that moves the shuttle along the shelf. It consists of a rack and gearing that is connected to stepper motors. The rack and pinion are mounted on a piece of aluminium that is mounted on the shelf.

The Robot's brain is a Raspberry Pi 4 Model B 4GB, connected to a MESA7C80 from Mesanet.

The 7C80 controls our servos via LinuxCNC.
The Software
Software Overview
As mentioned earlier, Bishop thinks it is a CNC machine, and as such, it runs LinuxCNC. LinuxCNC is an open-source CNC machine controller. It is a collection of software that allows you to control your CNC machine's motors and other peripherals like limit switches, homing switches, tool changers, spindle controllers and more.
Why do we use CNC software?
The problem space that we're trying to solve is very similar to that of a CNC machine. We have a bunch of motors that need to move in a specific way to pick a product from a shelf, and we need to know where the shuttle is at all times. Once the shuttle is at the correct location, we need to then perform a series of actions to pick the product, akin to a tool change, or operation on a CNC machine.
The reason we used LinuxCNC is that it is a mature, well-supported, and well-documented piece of software that is designed to do exactly what we need it to do. It is also open source, which means that we can modify it to suit our needs. Most importantly it runs on the Raspberry Pi!
Some added niceties that LinuxCNC provides us include:
- a motion planner that allows you to specify how the shuttle should move from one location to another, in a way that is safe and efficient (by reducing the amount of time the shuttle spends accelerating and decelerating).
- a hardware abstraction layer that allows us to use the same configuration file on different hardware
- a way to specify the position of the shuttle at any given time, and a way to move the shuttle to a specific location.
-
linuxcncrsha process that allows us to send commands to the LinuxCNC process over a network connection. This allows us to control the shuttle from a different computer or even a different network.
How does the software work?
As Pi Australia / Little Bird, we use a Rails application (Koi) to manage our inventory. This application is the source of truth for our inventory. With ~28,000 products, we track not only our inventory quantities but also where they're located in our warehouse.
When an order comes in from one of our sites, the Rails application assesses whether Bishop has the products that are required to fulfil the order. If Bishop has the products, it will then send a request to a Ruby script running on the Pi to pick the products. The Ruby script then connects to the LinuxCNC's linuxcncrsh process via Telnet and sends a series of commands to LinuxCNC to pick the products and deliver them to a picking bin.
Note: We don't expose LinuxCNC's telnet interface to the network, it is only accessible from the Pi itself, doing otherwise would be a security nightmare!
LinuxCNC talks GCode, which is a language that is used to control CNC machines. The GCode that we use is called RS274NGC.
When we want the robot to do something, we send the command over telnet to linuxcncrsh. The commands we send over telnet are terminated with a newline character (\n), and the response from linuxcncrsh is terminated with a \r\n sequence.
The Startup Sequence
When the robot starts up, it throws a bunch of commands over telnet to LinuxCNC to tell it to do a bunch of things.
These commands include:
hello EMC user 1.0
The hello command is used to check that the connection is working. If the connection is working, LinuxCNC will respond with HELLO ACK <ServerName> <ServerVersion> and the connection is established, otherwise, it will respond with HELLO NAK and the connection will be closed.
set enable EMCTOO
This command tells LinuxCNC that we want to enable the EMCTOO interface. EMCTOO is a way to send commands to LinuxCNC via a socket connection. We use this to send commands to LinuxCNC from our Ruby script.
set echo off
This command tells LinuxCNC to not echo the commands that we send to it. This is useful because it means that we don't have to overcomplicate our Ruby script by having to parse the output of LinuxCNC.
Fault Checking
LinuxCNC has a fault-checking system that allows it to detect when something goes wrong. For example, if a limit switch is triggered, LinuxCNC will detect this and stop the robot. This is useful because it means that we don't have to worry about the robot crashing into things.
get joint_fault #{n}
This command allows us to check if a joint has a fault. A joint is a motor, so this command allows us to check if a motor has a fault. If a motor has a fault, it means that something has gone wrong, and we need to stop the robot.
Error Checking
get error
This command allows us to check if LinuxCNC has an error. If LinuxCNC has an error, it means that something has gone wrong, and we don't want to continue.
Getting the Emergency Stop State
get estop
This command allows us to check if the emergency stop has been triggered.
Homing the Robot
Before we can home the robot, we need to turn off the emergency stop and turn on the machine.
set estop off
This command turns off the emergency stop.
set machine on
This command turns on the machine.
Now that the machine is on, we can home the robot.
set home -1
This command homes the robot. The -1 tells LinuxCNC to home all joints.
We wait until the robot has homed before continuing.
Moving the Robot
Once the startup sequence is complete, we can start moving the robot. We do this by sending a series of commands to LinuxCNC. The commands that we send are GCode commands, and they tell LinuxCNC how to move the robot.
set mode mdi
This command tells LinuxCNC that we want to run in MDI mode. MDI mode is a mode that allows us to send commands to LinuxCNC that are not part of a preset program.
set mdi M102
LinuxCNC can use perform pre-canned actions provided by the user in the form of a "subprogram". Calling a subprogram is done by using the M command. The M102 command tells LinuxCNC to run the subprogram M102.
All you need to do is create a file called M102 in the ~/linuxcnc/nc_files directory of your LinuxCNC configuration directory. The contents of the file will be the code that you want to run.
Our M102 is a program that warns folks in the warehouse that the robot is about to move. It does this by playing a sound file and flashing the lights on the robot.
The contents of our M102 file:
#!/bin/bash

echo $"Initiating move" &

#halcmd setp hm2_7c80.0.ssr.00.out-00 1 & #disengage brakes

aplay "/home/pi/linuxcnc/nc_files/Audio_Files/whoop-whoop.wav"

#espeak "Warning. Initiating movement"

#halcmd setp hm2_7c80.0.ssr.00.out-07 1 & #turn buzzer on
halcmd setp hm2_7c80.0.ssr.00.out-05 0 & #turn red led off
halcmd setp hm2_7c80.0.ssr.00.out-05 1 & #turn green led on
halcmd setp hm2_7c80.0.ssr.00.out-04 0 & #turn amber led off


sleep 2

exit 0
We're now finally ready to move the robot. Again, we do this by sending a series of commands to LinuxCNC.
To move the robot we need to give the position that we want the robot to move to. We do this by using the set mdi command.
set mdi g0x#{x}y#{y}z0
This command tells LinuxCNC to move to the position specified by x, y and z. The g0 command tells LinuxCNC at what speed to move to the position.
From the robot's perspective, the x-axis is the axis that runs along the length of the shelves, the y-axis is the height of the shelves, and is the distance the shuttle is to the shelves. We hardcode the z-axis to 0 because we don't want the robot to interfere with the shelves or the products on the shelves whilst it is moving.
Our Ruby script abstracts this away from us, and we just need to tell it the shelf that we want to move to, and it will work out the position for us.
When the set mdi command is run, LinuxCNC will start moving the robot.
Our Ruby script then periodically checks the position of the robot.
The script uses the get abs_act_pos command to get the position of the robot. The abs_act_pos command returns the position of the robot in the form of a string. The string is in the form of x=0.000000 y=0.000000 z=0.000000, so we need to parse the string to get the position of the robot.
The Ruby knows the location of all the shelf positions and compares the position of the robot to the location of the shelf that we want to move to. If the robot is close enough to the shelf, the script will proceed to the next step.
Performing the Pick
When the robot is moving along the shelf, the shuttle is positioned away from the shelf so that it won't collide with itself or the products on the shelf. Once the robot is in the correct position, the shuttle is moved into position to pick the product.
set mdi g0x#{x}y#{y}z150
This command moves the shuttle toward the shelf.
To remove the product from the shelf, we use a laser cut and 3d printer finger to move the product above the lip of the shelf, and let it slide gently into the shuttle.
The finger is controlled by a stepper motor, and we use the set mdi M201 command to call the following subprogram:
o <m201> sub
G91 A360.0
G90
o <m201> endsub
M2
This moves the stepper finger 360 degrees and then returns it to its original position.
Through some clever mechanical design, the finger moves in an oval motion path, and the product slides into the shuttle.
The oval motion helps to prevent the product from sticking to the lip of the shelf, and also is gentle enough to not damage the product.
Delivering the Product to a Pick Bin
Once the product has been picked, we need to deliver it to a pick bin.
Again we use the set mdi command to move the robot to the pick bin.
set mdi g0x#{x}y#{y}z${z}
Once the robot is at the pick bin, we open the tailgate of the shuttle, and the product slides out of the shuttle and into the pick bin (using gravity).
The actuator that opens and closes the tailgate is a servo motor, and as you might have guessed, we use a couple of subprograms to control the servo motor.
set mdi M105
This opens the tailgate.
set mdi M106
This closes the tailgate.
Future Work
We've got a lot of ideas for future work, and we're excited to see where this project goes.
One of the things we're working on is a way to automatically:
- pack the products into boxes with a suitable amount of padding.
- create a shipping label for the box.
- print a shipping label for the box.
By way of the shipping label, we've started down that path by testing the feasibility of using reusable shipping boxes with an e-ink label that can be updated remotely.
Don't tell Auspost this, but we've tested their ability to scan and deliver the e-ink label, and it works!
Acknowledgements
This project was a collaboration between Little Bird and Nick Owen from Nuvotion.
The project wouldn't be possible without the amazing software from the LinuxCNC team.
- Choosing a selection results in a full page refresh.