


Raspberry Pi 4 Model B+ : Tips & Tricks
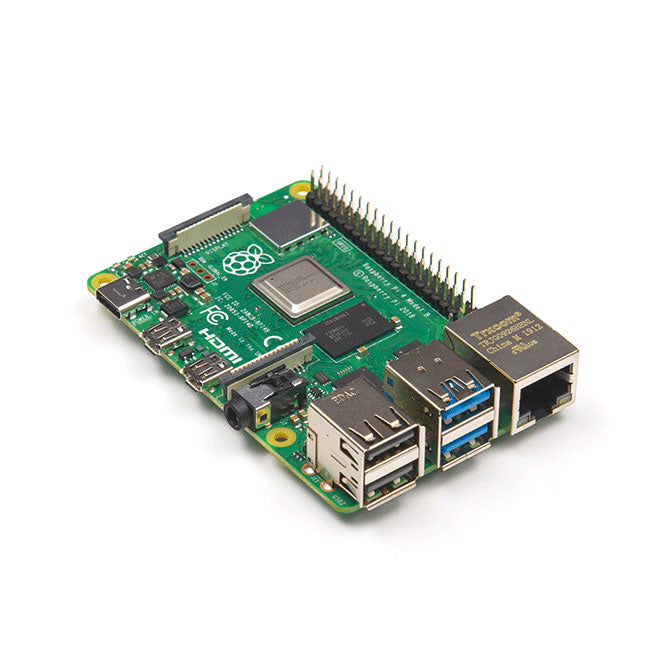
The new Raspberry Pi 4 is here! At first glance, it looks almost identical to its predecessor, but it comes with several upgrades:
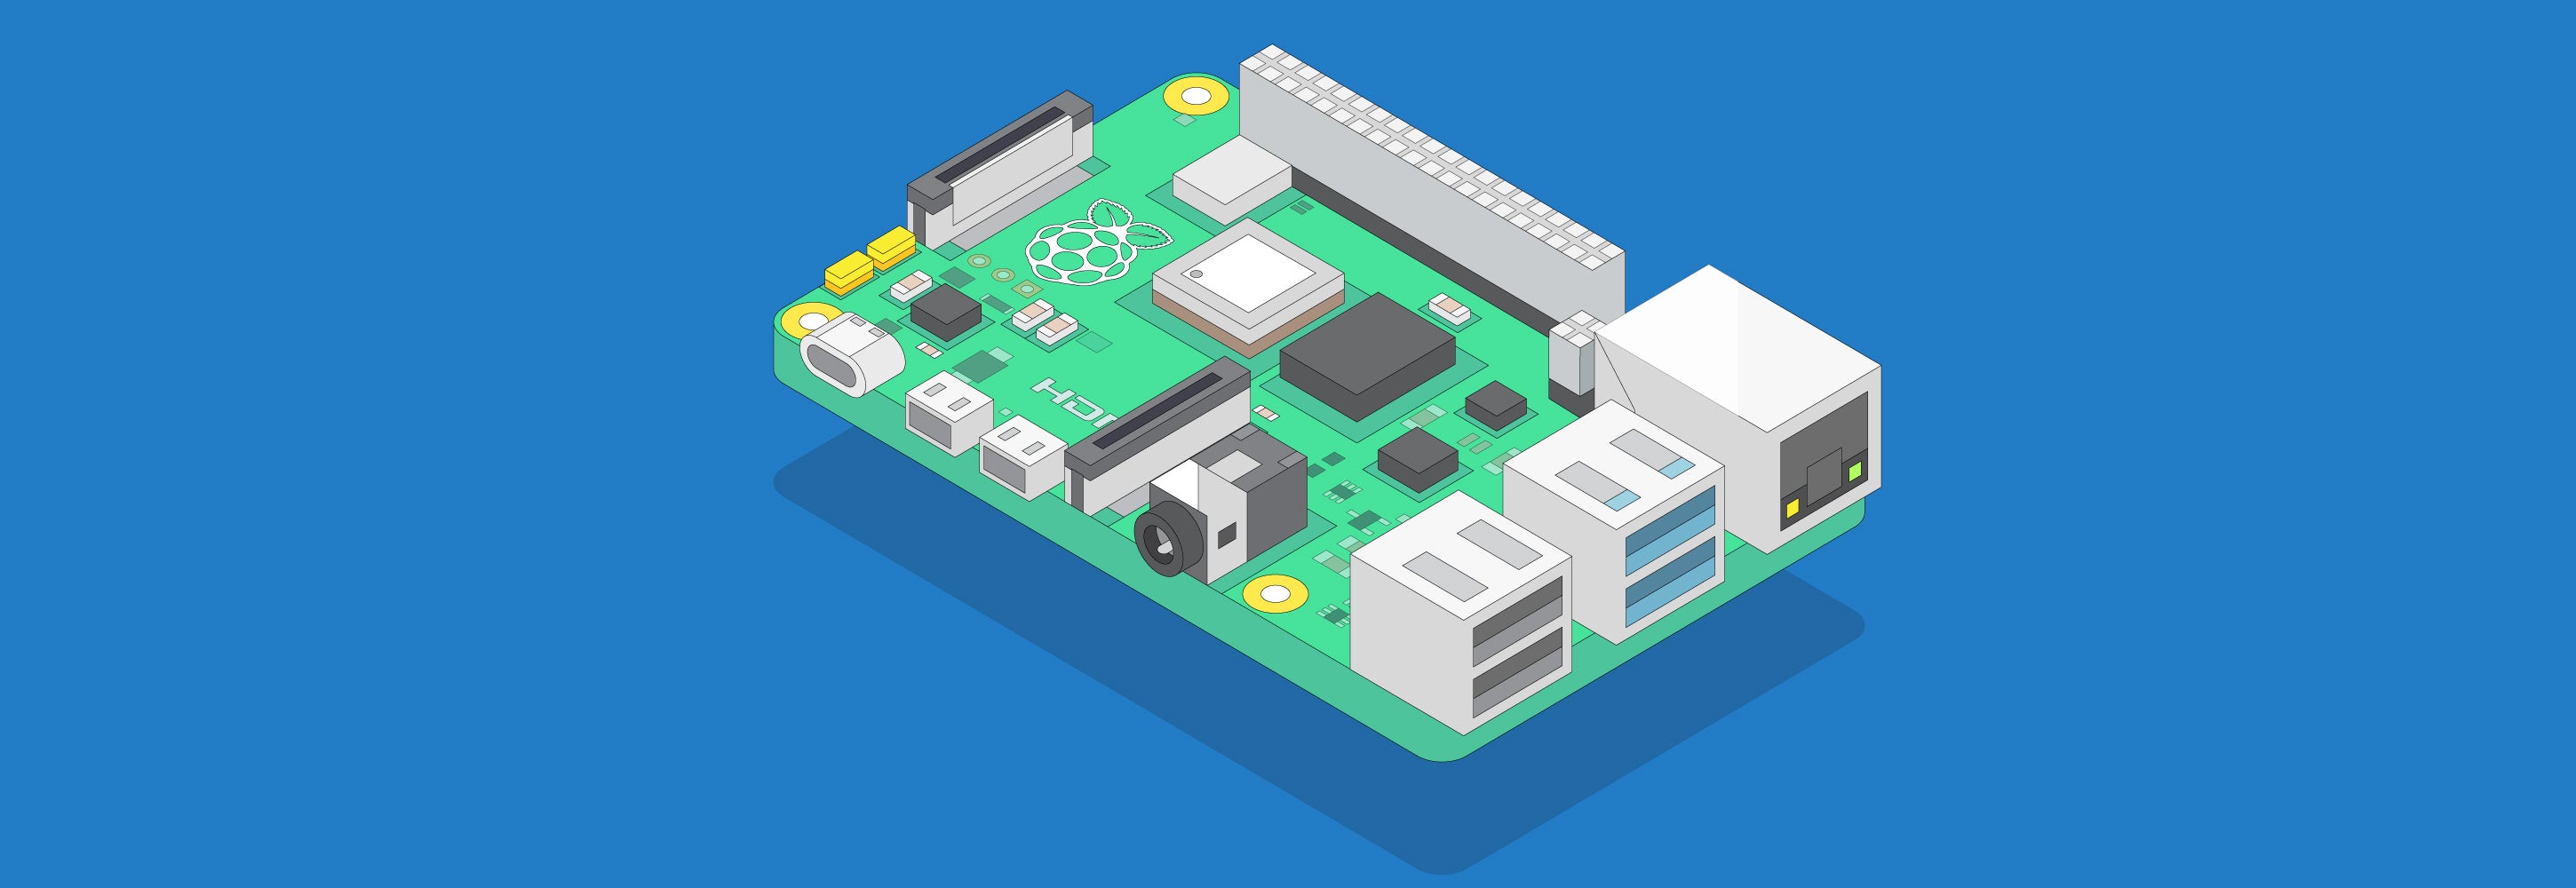
- Broadcom BCM2711 quad-core Cortex-A72 (ARM v8) 64-bit system-on-chip that runs on 1.5 GHz
- Three variations of the board that have different memory capacities: 1GB, 2GB, or 4GB of LPDDR4 SDRAM.
- USB-A 3.0 ports
- Full throughput Gigabit ethernet
- Dual HDMI Ports
- 5V USB-C (Input power Only)
- Bluetooth 5.0 (and BLE)
... And many more tweaks.
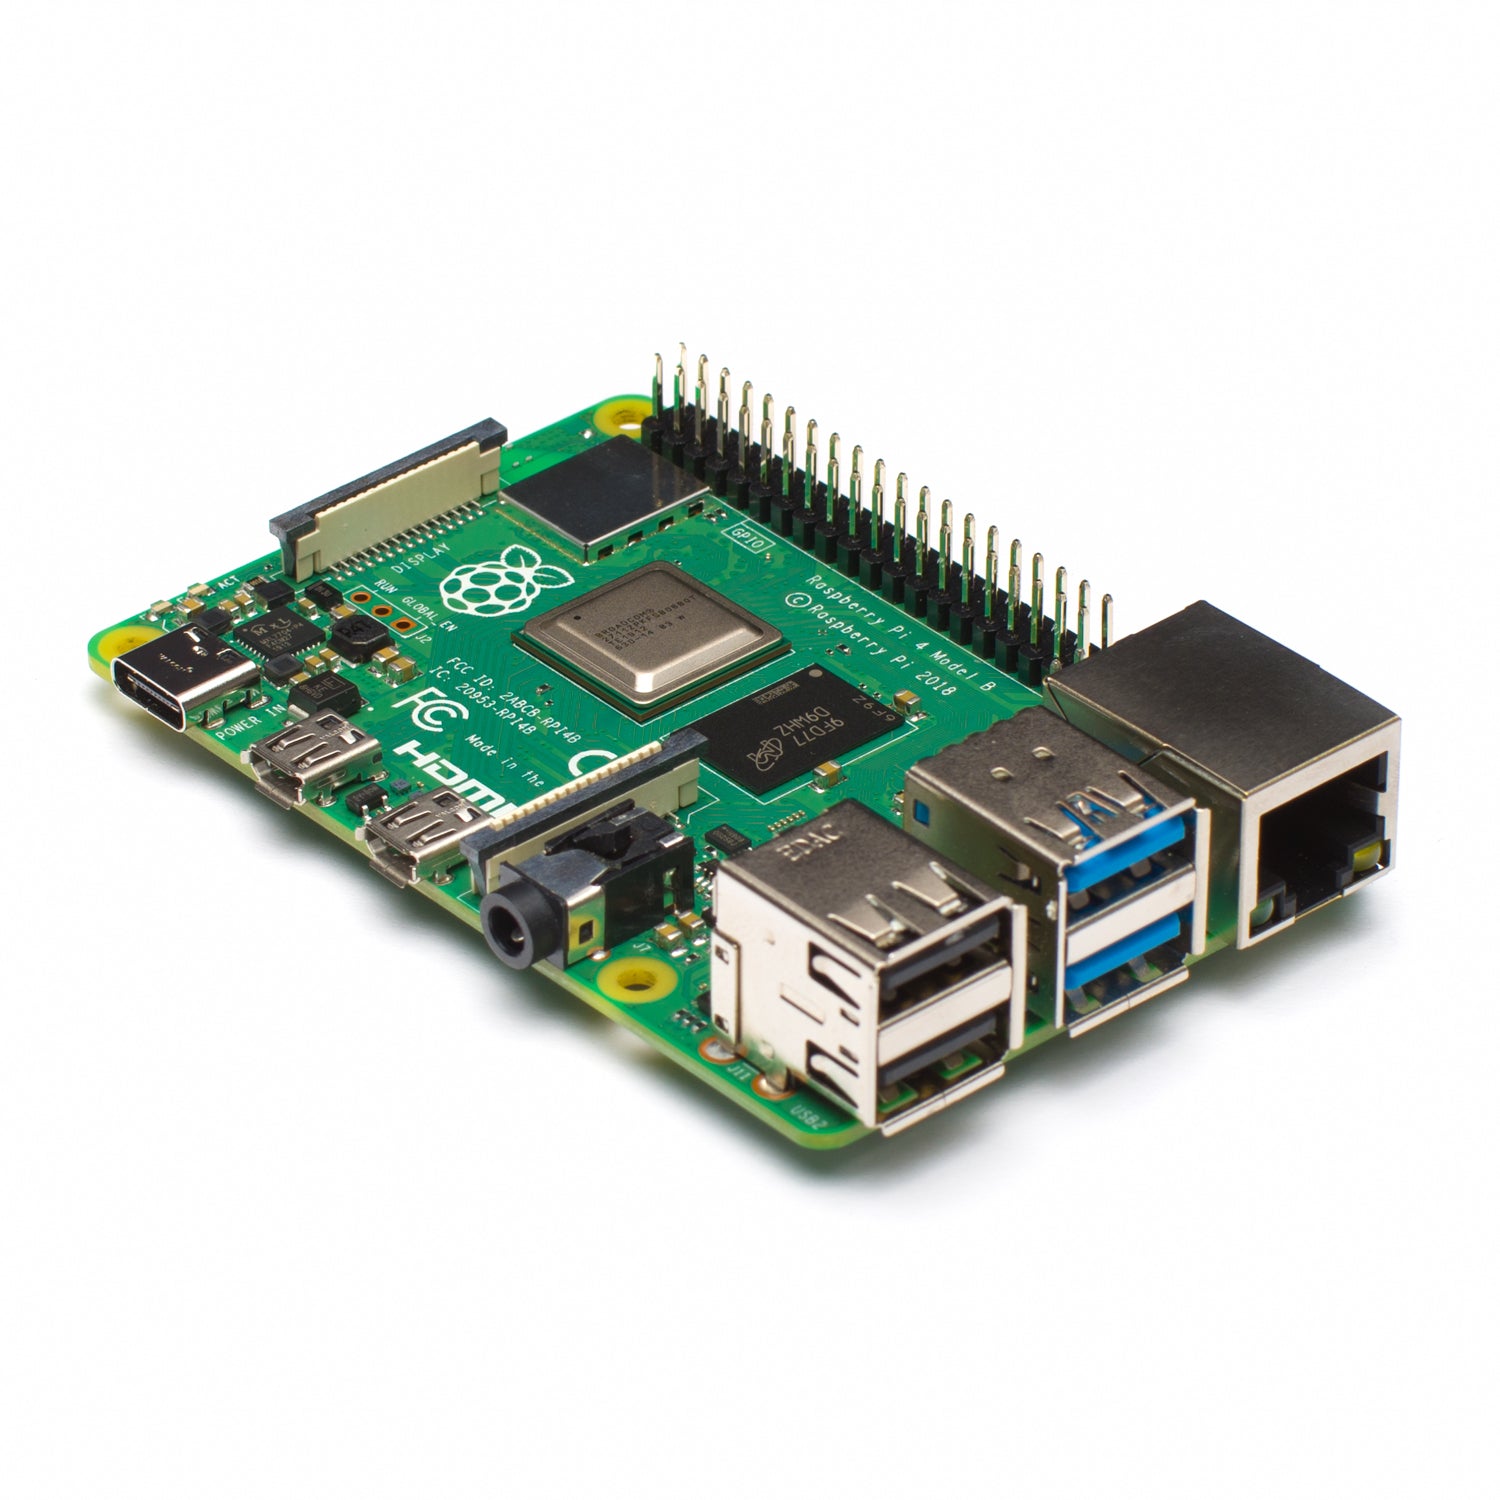
Some noticeable differences to take note of:
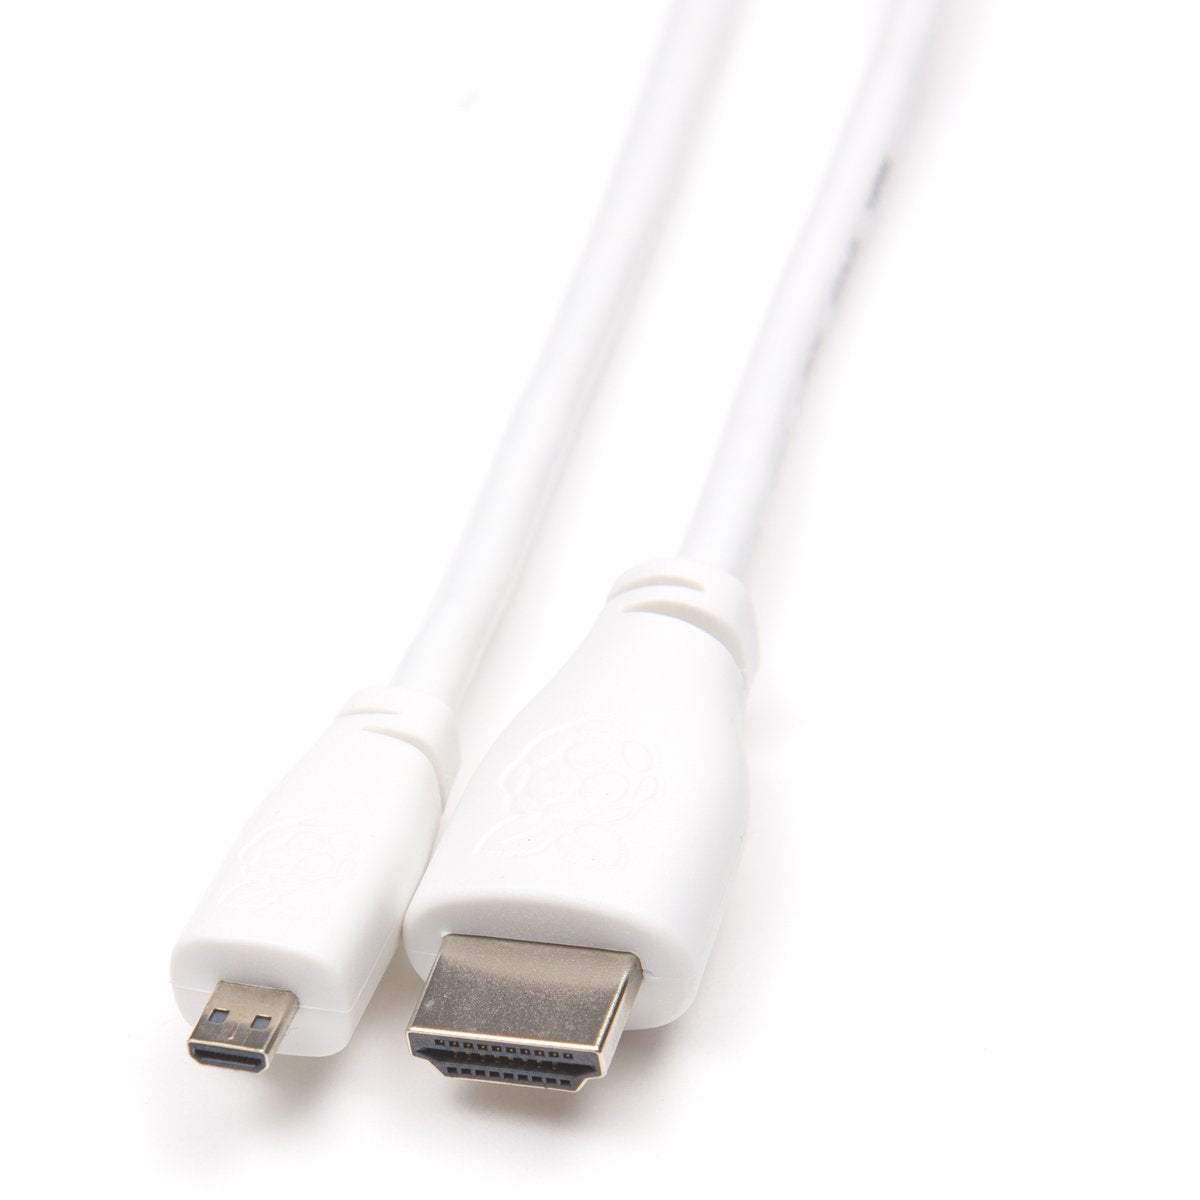
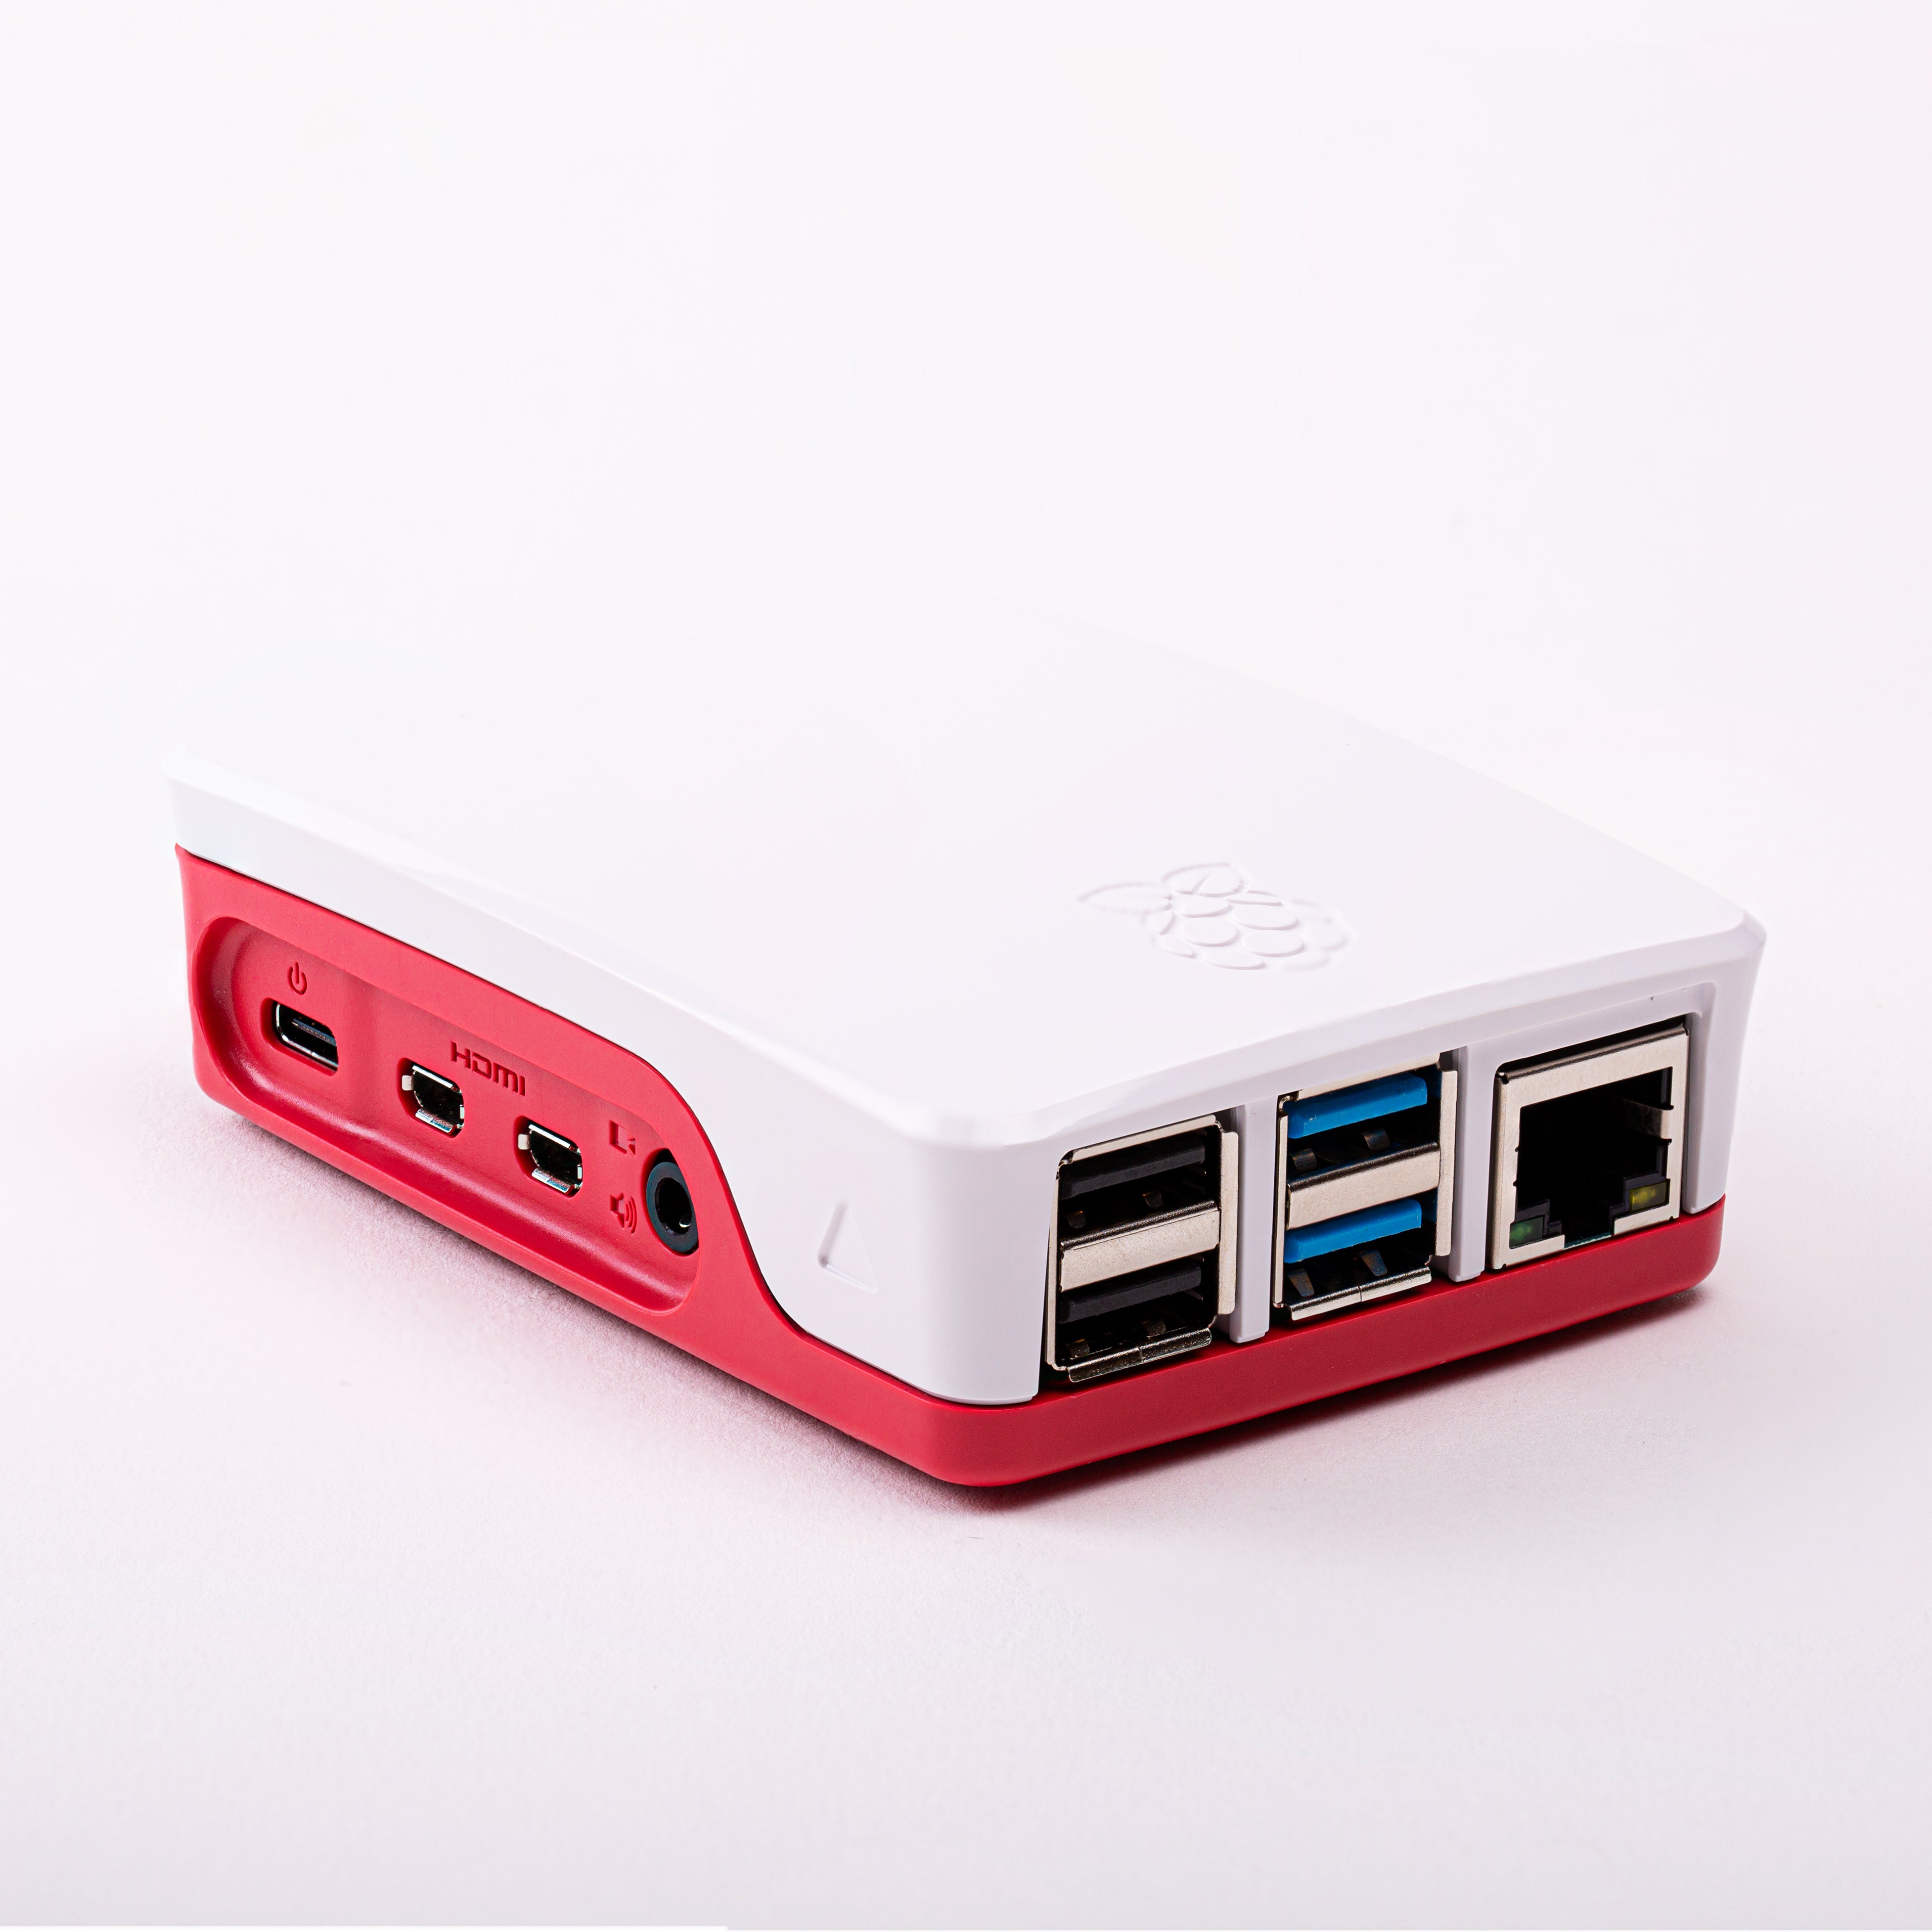
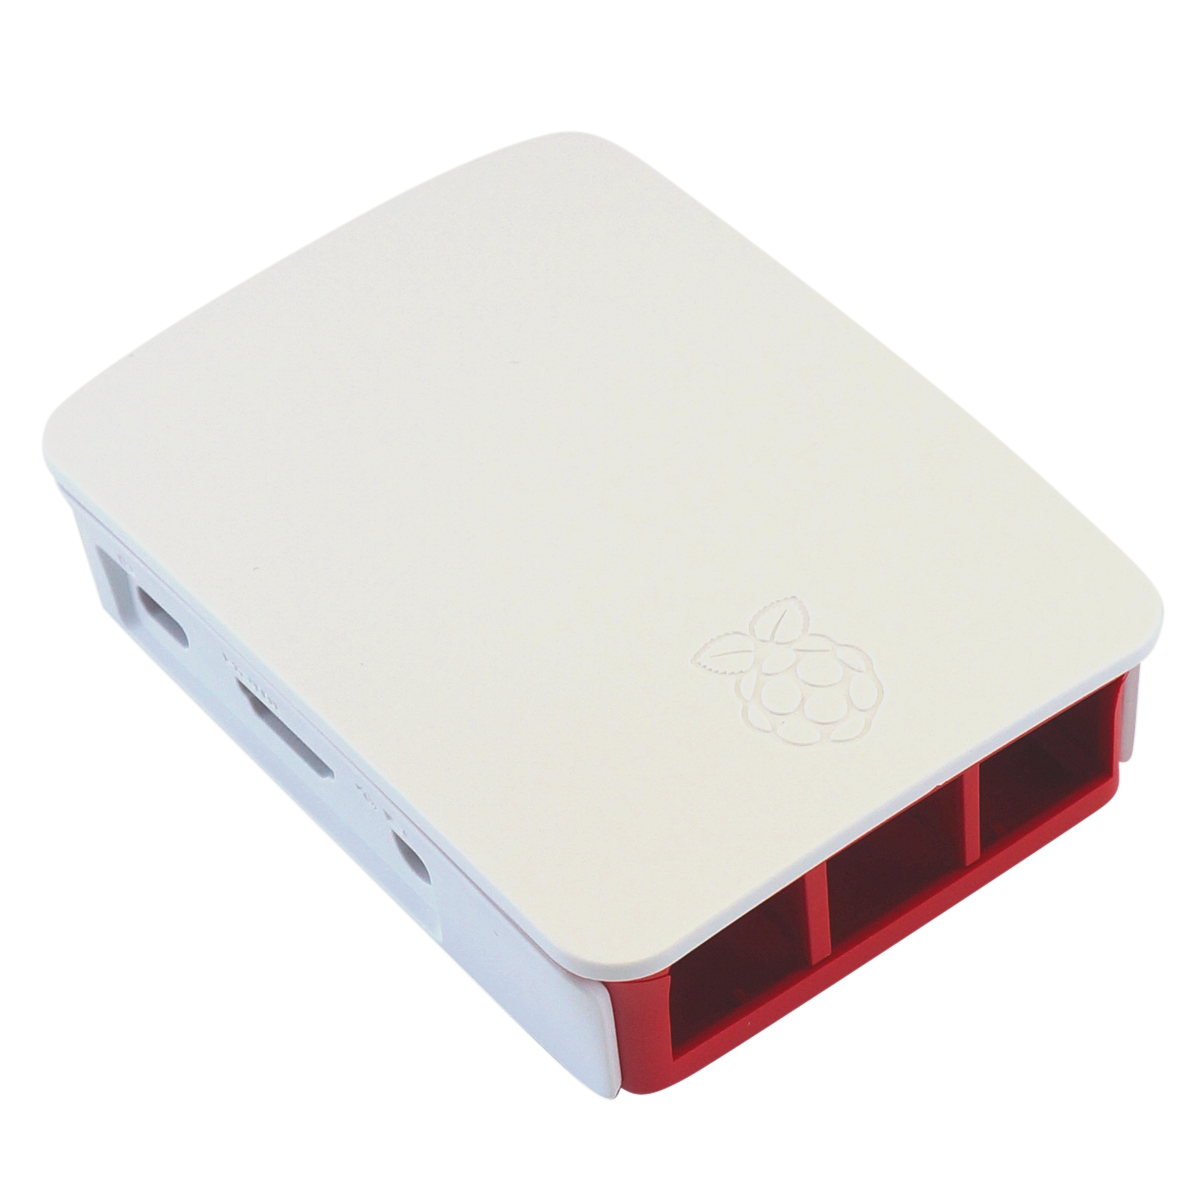
- As there are now two micro HDMI ports as well as the fact that the Ethernet port and USB ports have swapped places, Pi 3 cases will most definitely not work with the Pi 4!
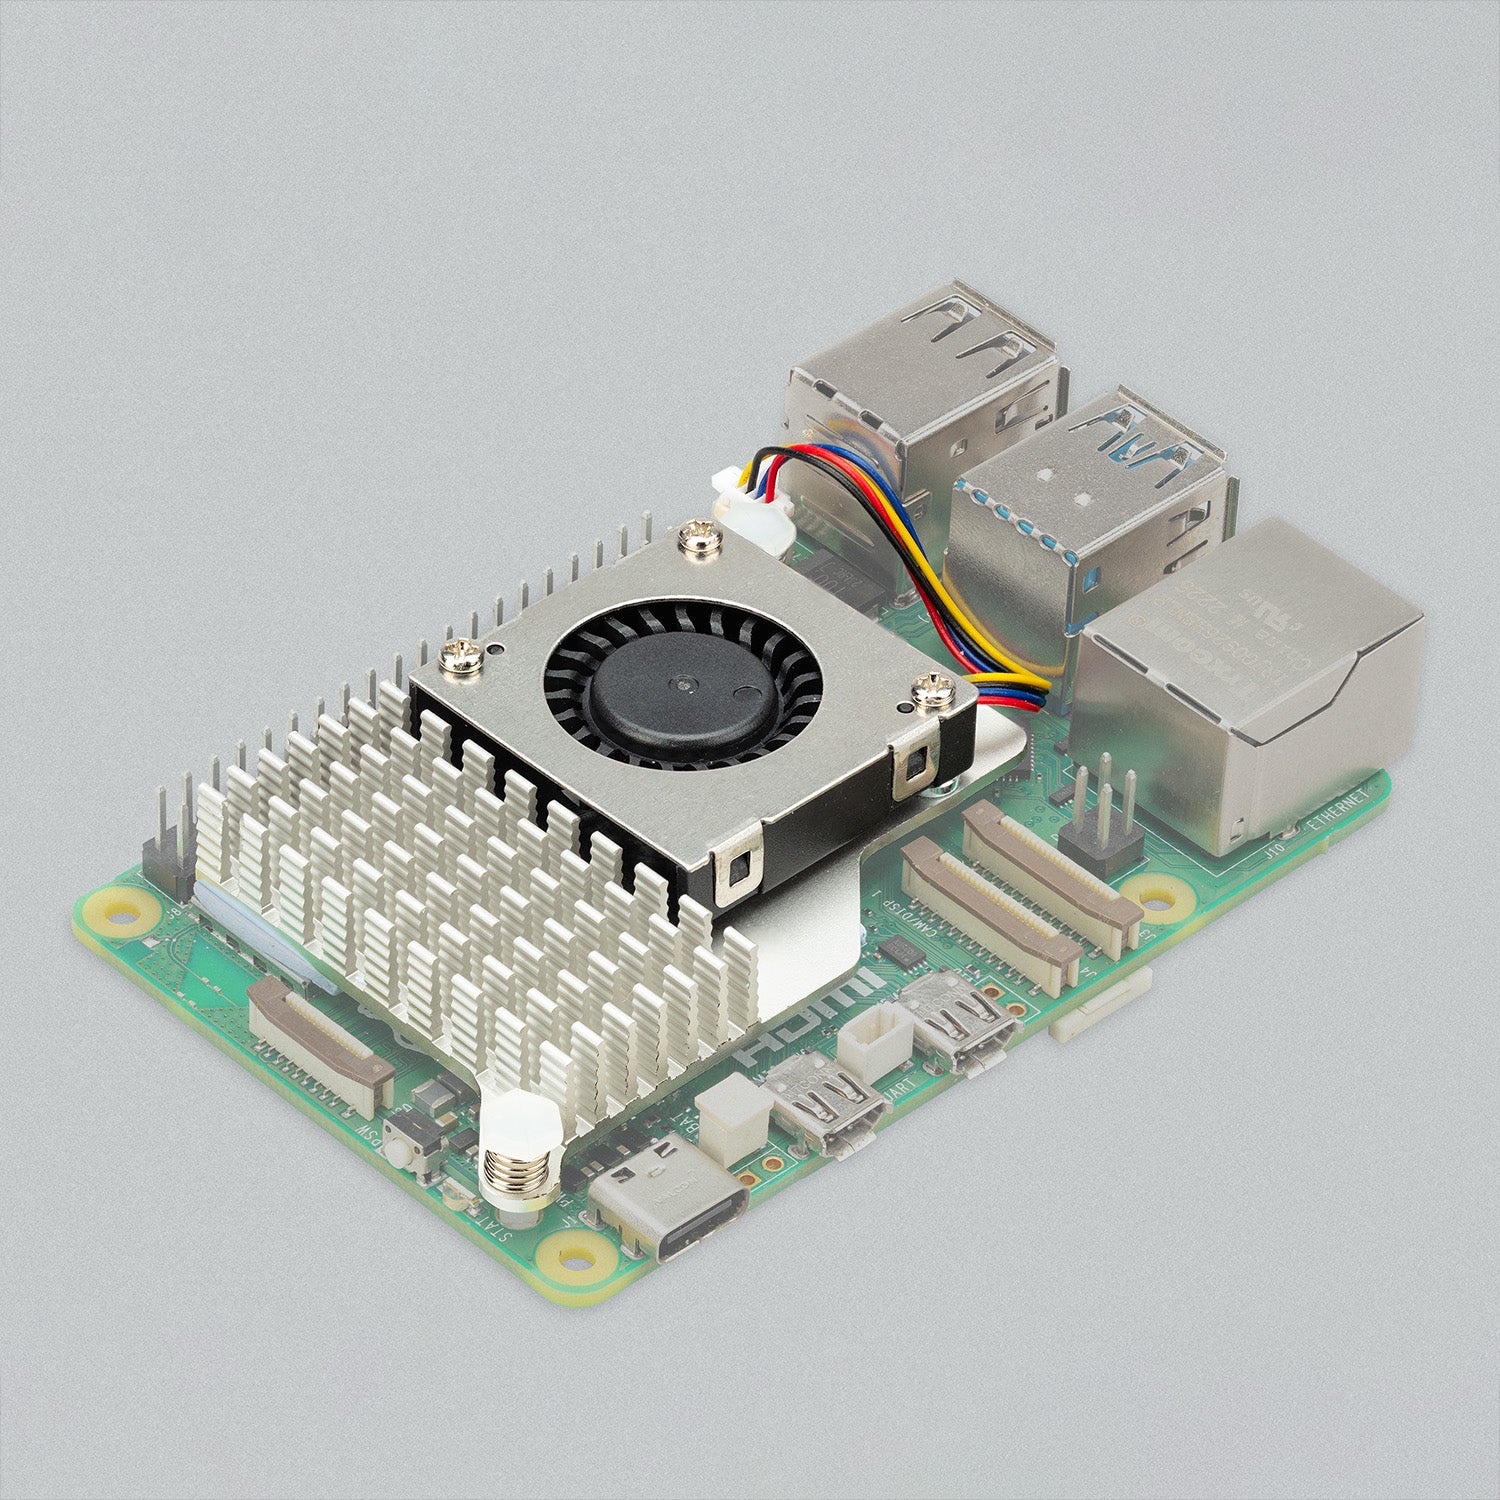
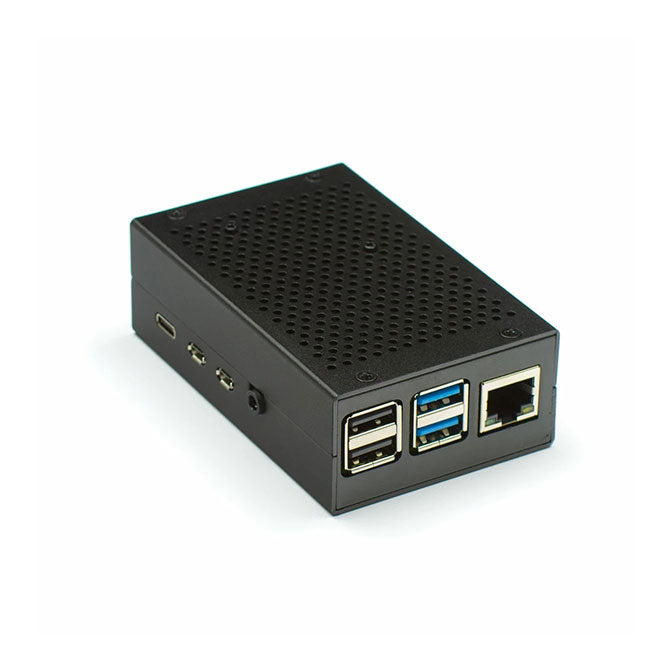
- Moreover, the Pi 4 will run hot, especially around its Broadcom BCM 2711 SoC, so we advise getting a protective case with dual miniature cooling fans which can be directly connected to the Pi's GPIO pins.
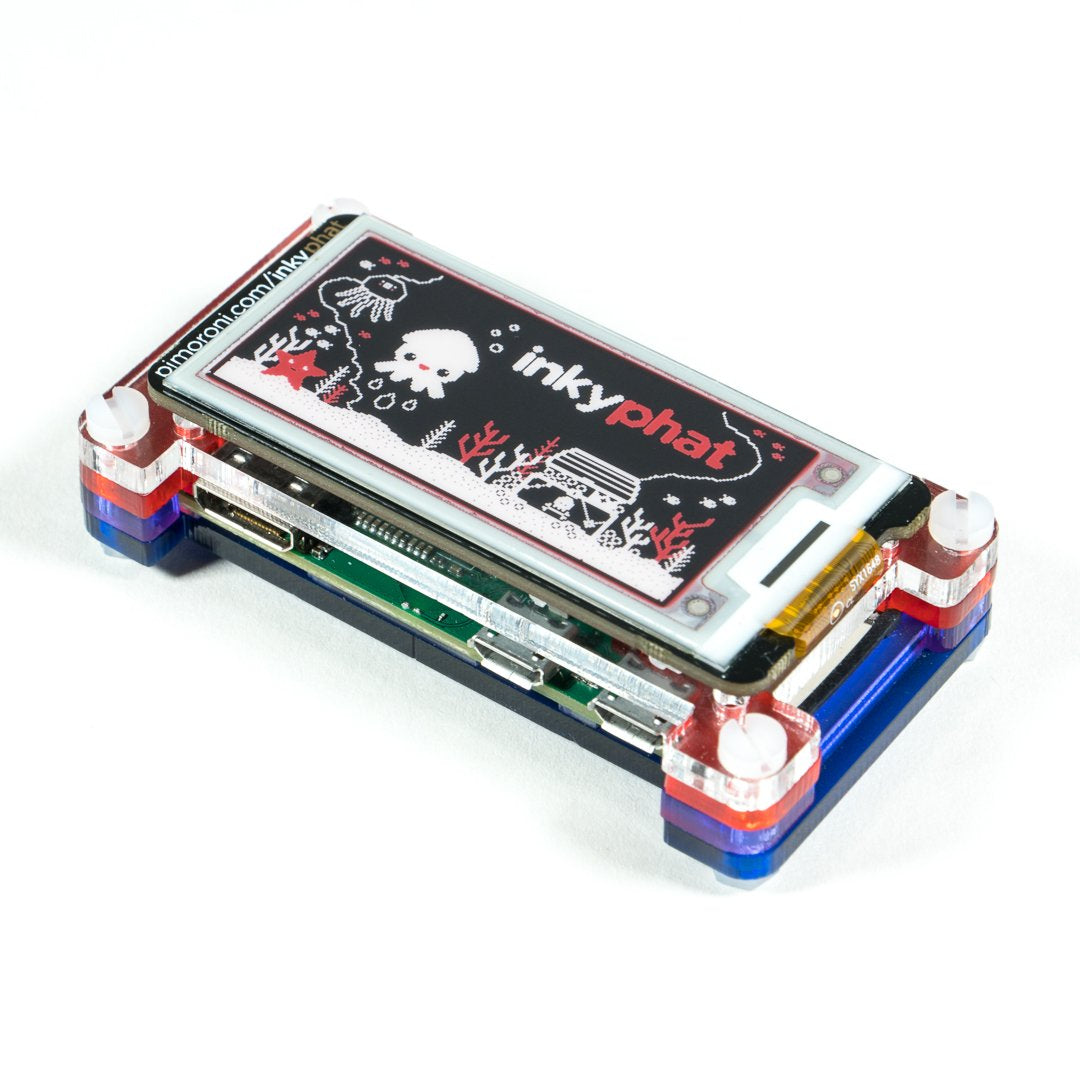
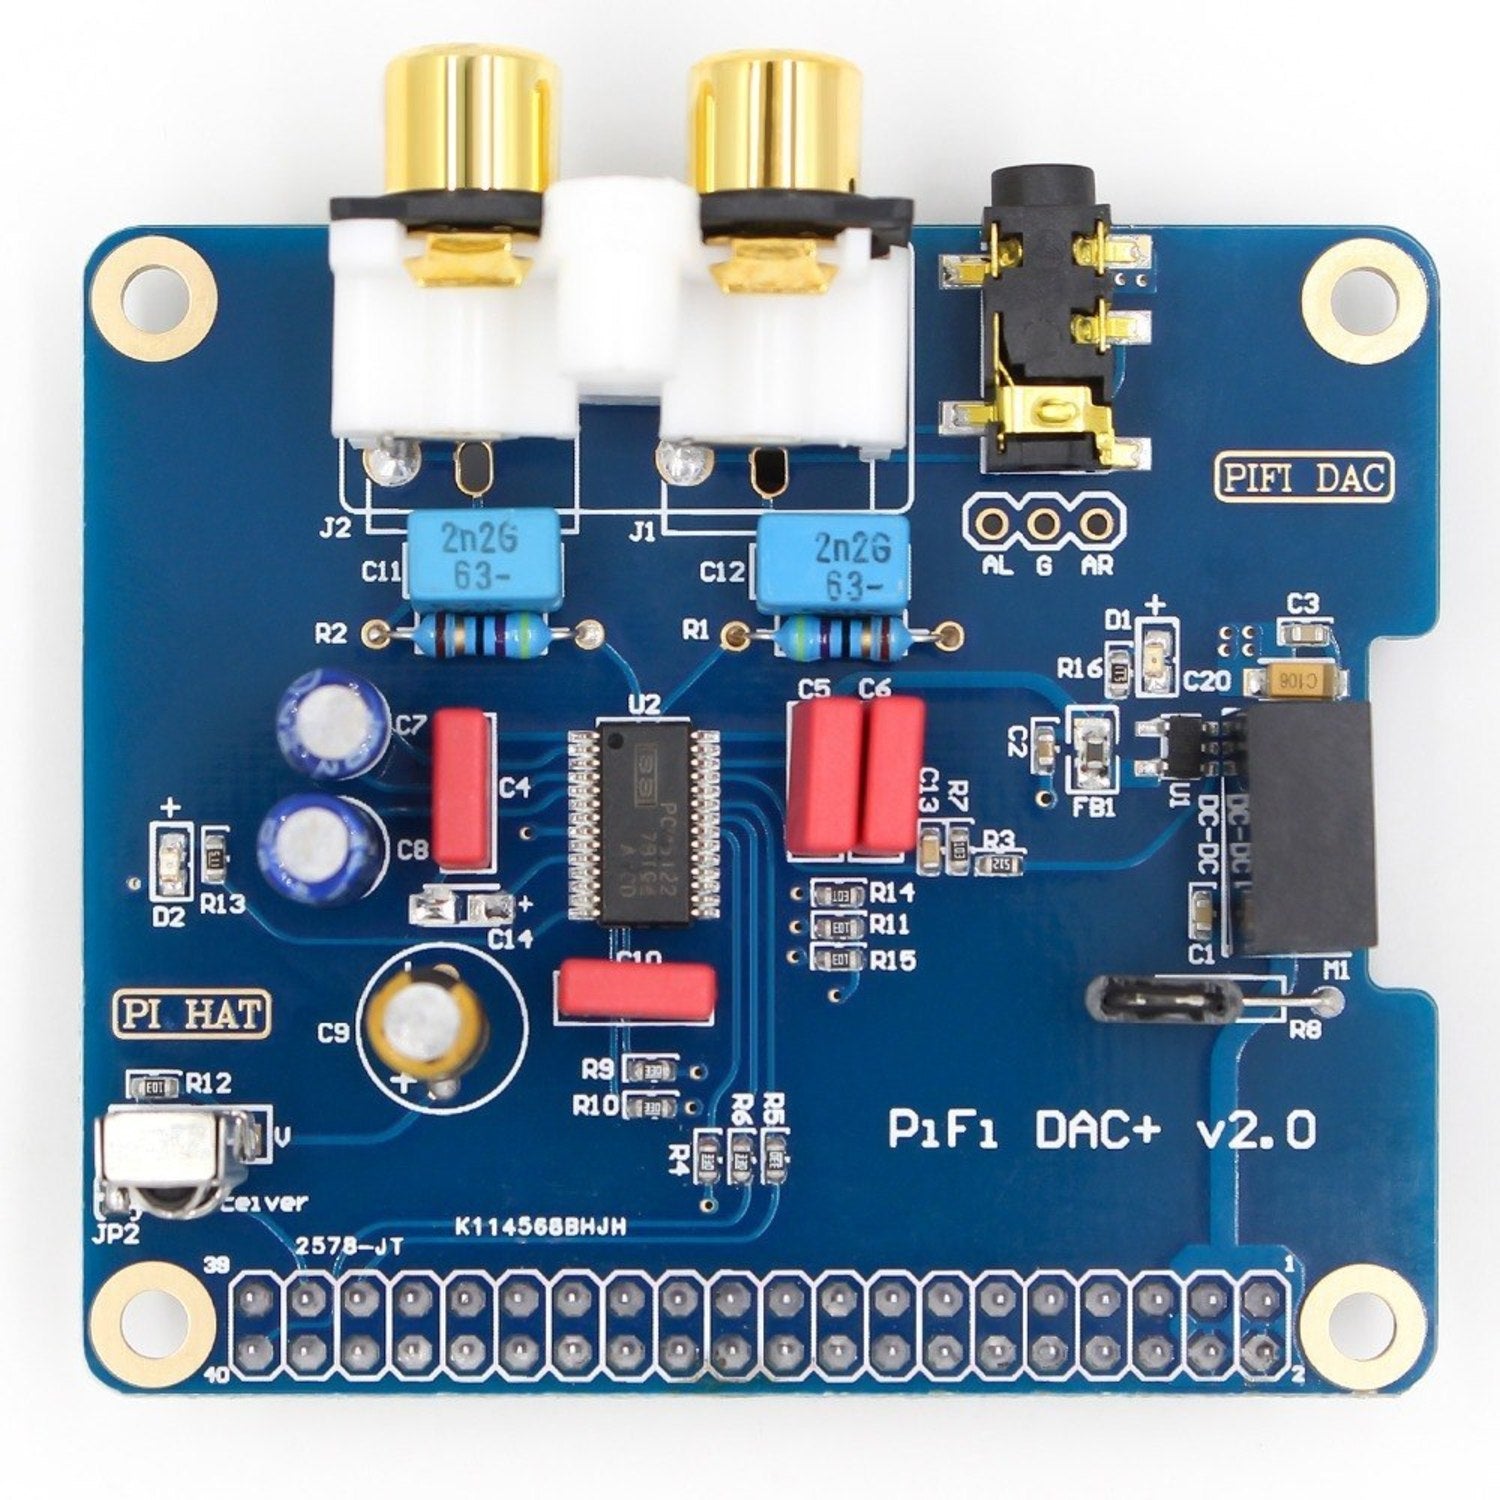
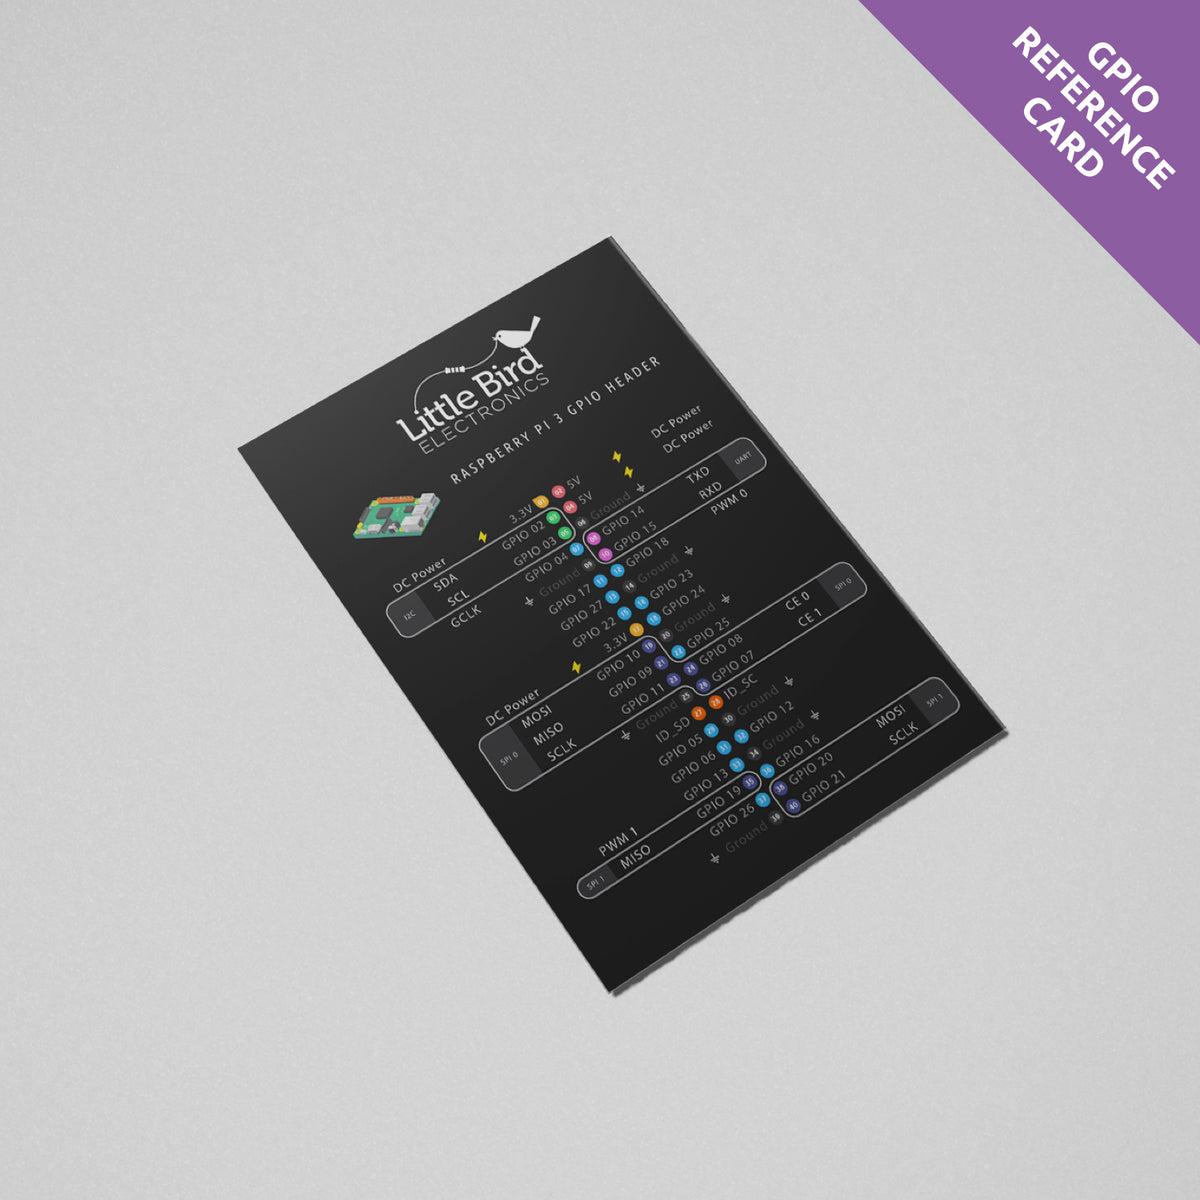
- The same 40-pin GPIO header is found on the Raspberry Pi 4, so it is compatible with most HATs.
- Raspbian Buster is the latest version of Raspbian, and is required for the Raspberry Pi 4.
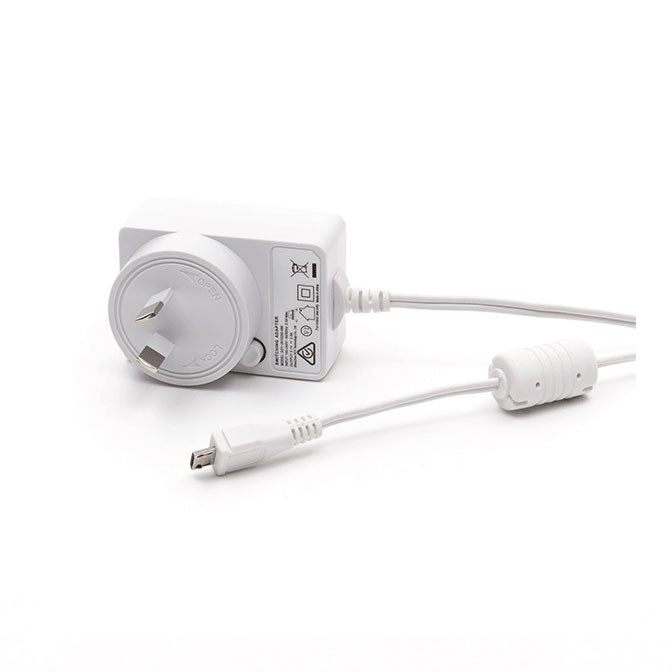
- The official power supply with a rating of 3A and a USB-C power plug is recommended for use with the Raspberry Pi 4. Alternatively, you could still use the same Raspberry Pi 3 power supply with a USB to USB-C adapter. Though keep in mind that according to the Raspberry Pi Foundation, "A good quality 2.5A power supply can be used if downstream USB peripherals consume less than 500mA in total."
- At this time of writing, there isn't an official release of Retropie for the Raspberry Pi 4. However, it is possible to run it with the Pi 4 but a bit of patience is required! Another option is to use Lakka, instead, which already has official support for the Pi 4.
- A final note: The Raspberry Pi 4 may not output to your display right away. If this is the case, but it works on other displays, it may be a resolution issue. To fix this, first determine the resolution requirements of your target monitor. Then after connecting the Pi 4 to the monitor via a micro HDMI to HDMI cable, the screen resolution can be changed on the PIXEL desktop by navigating to Preferences > Screen Configuration. Then to change the resolution, navigate to Configure > Screens > HDMI > Resolution

- Choosing a selection results in a full page refresh.